
Today, I’m going to break down the basics of how to create a stained or “wash” look using Mango Paint—you’ve been asking, and I’m here to give you the steps!

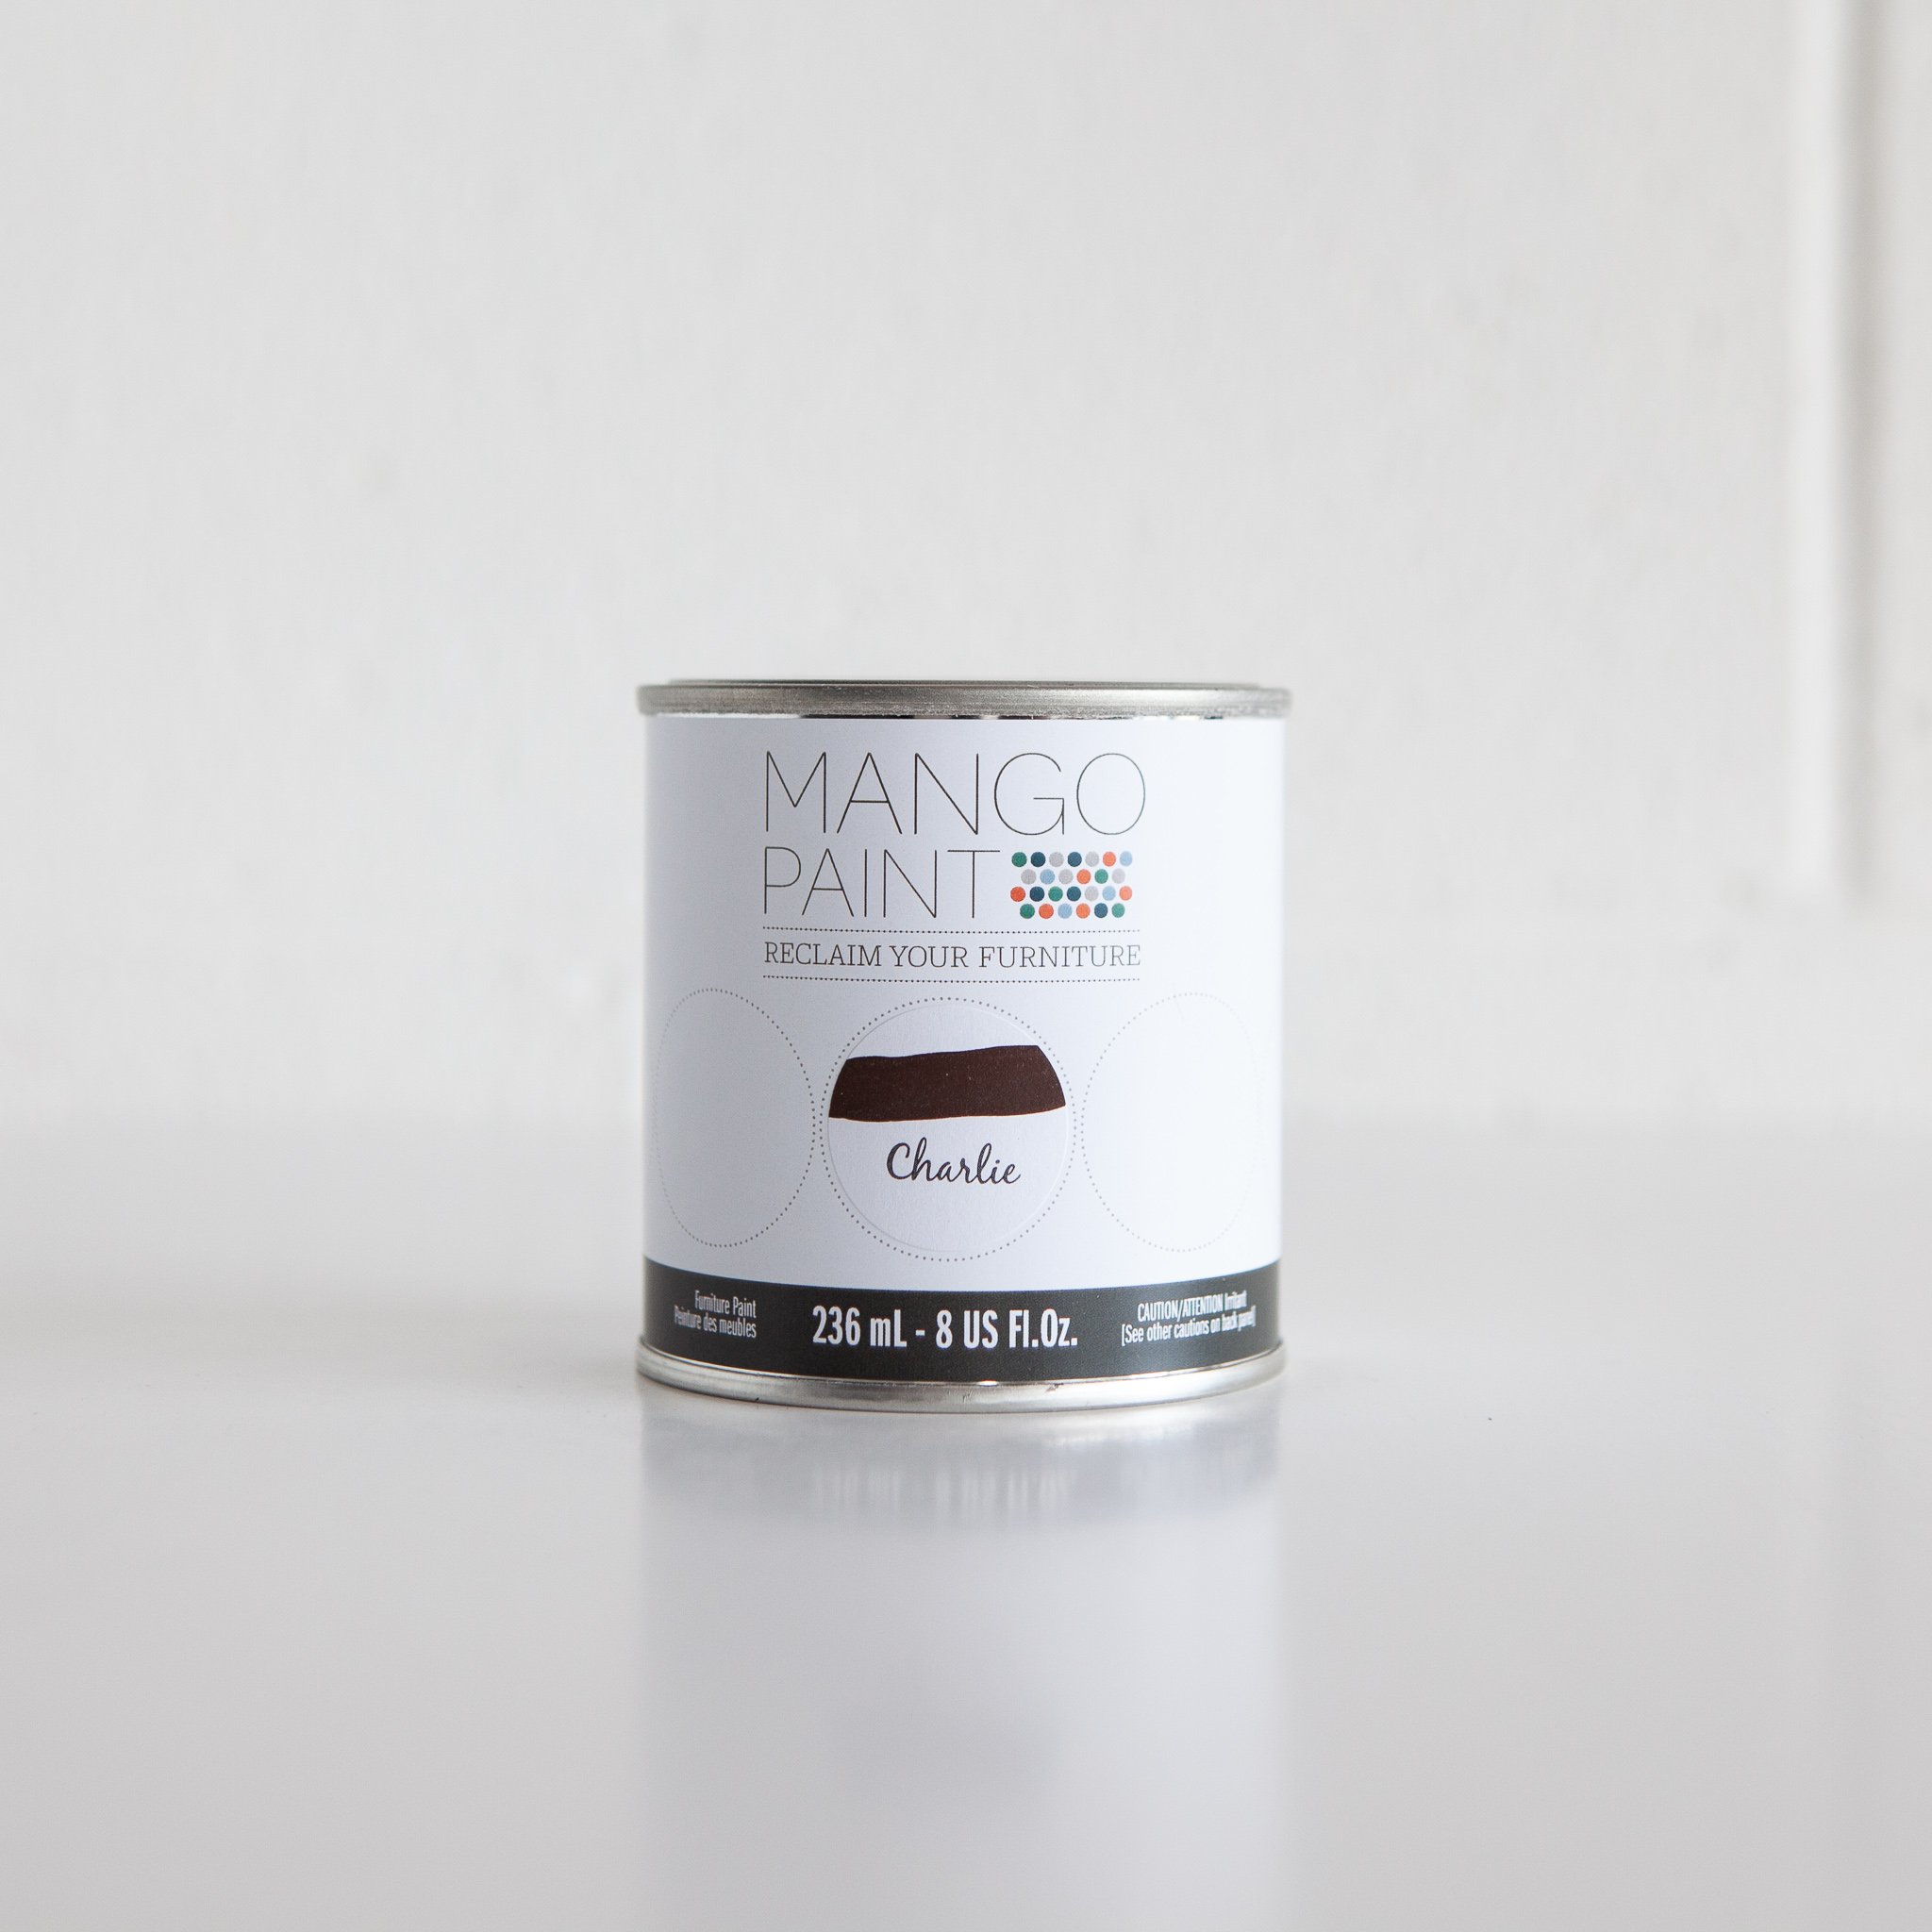
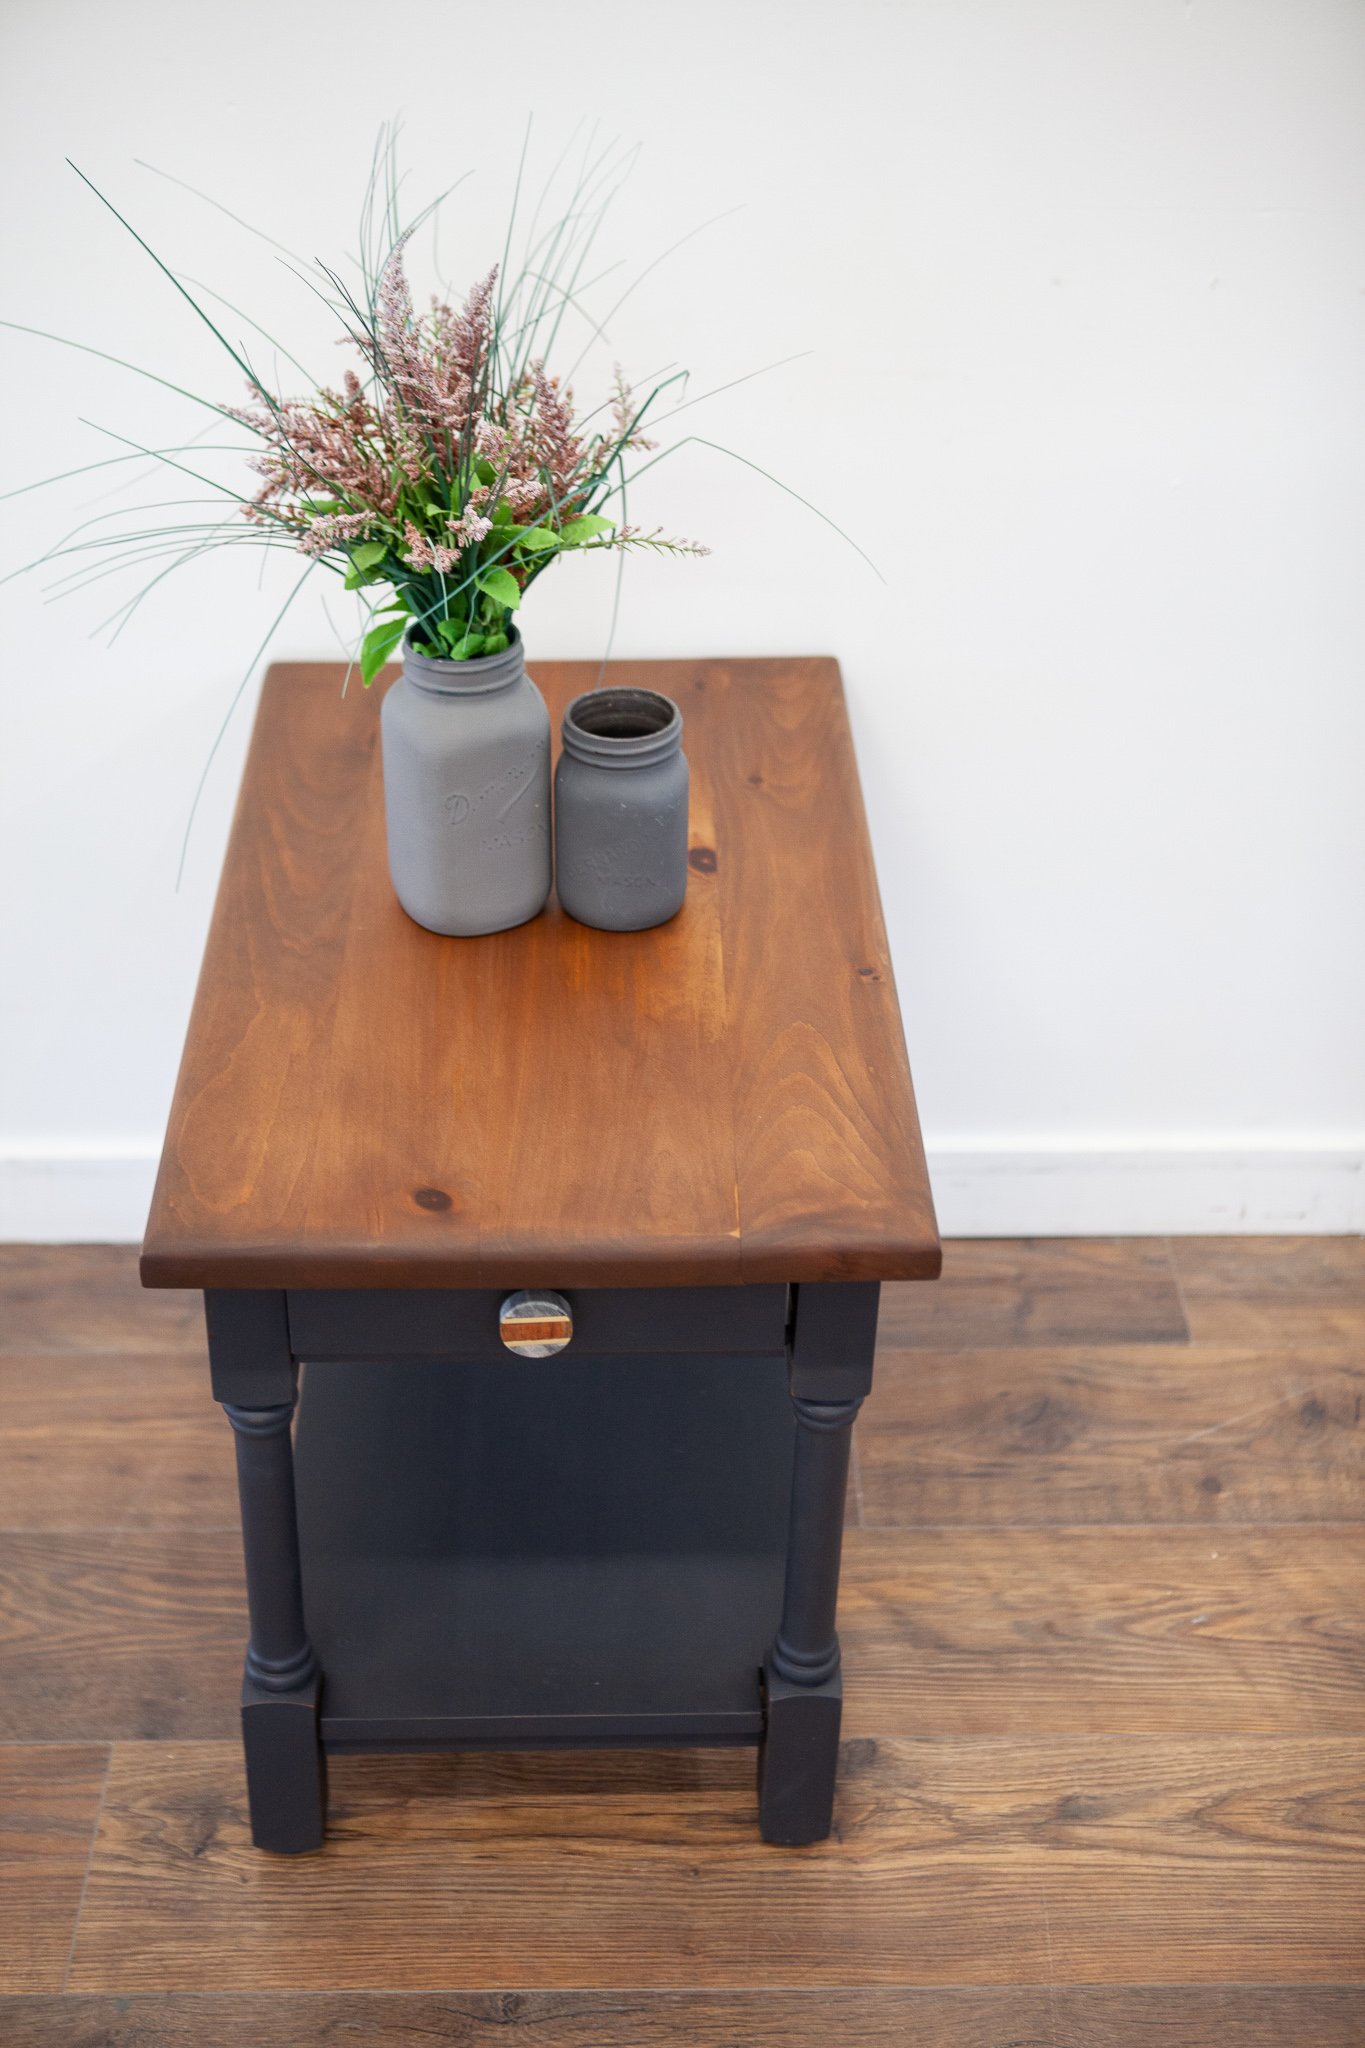
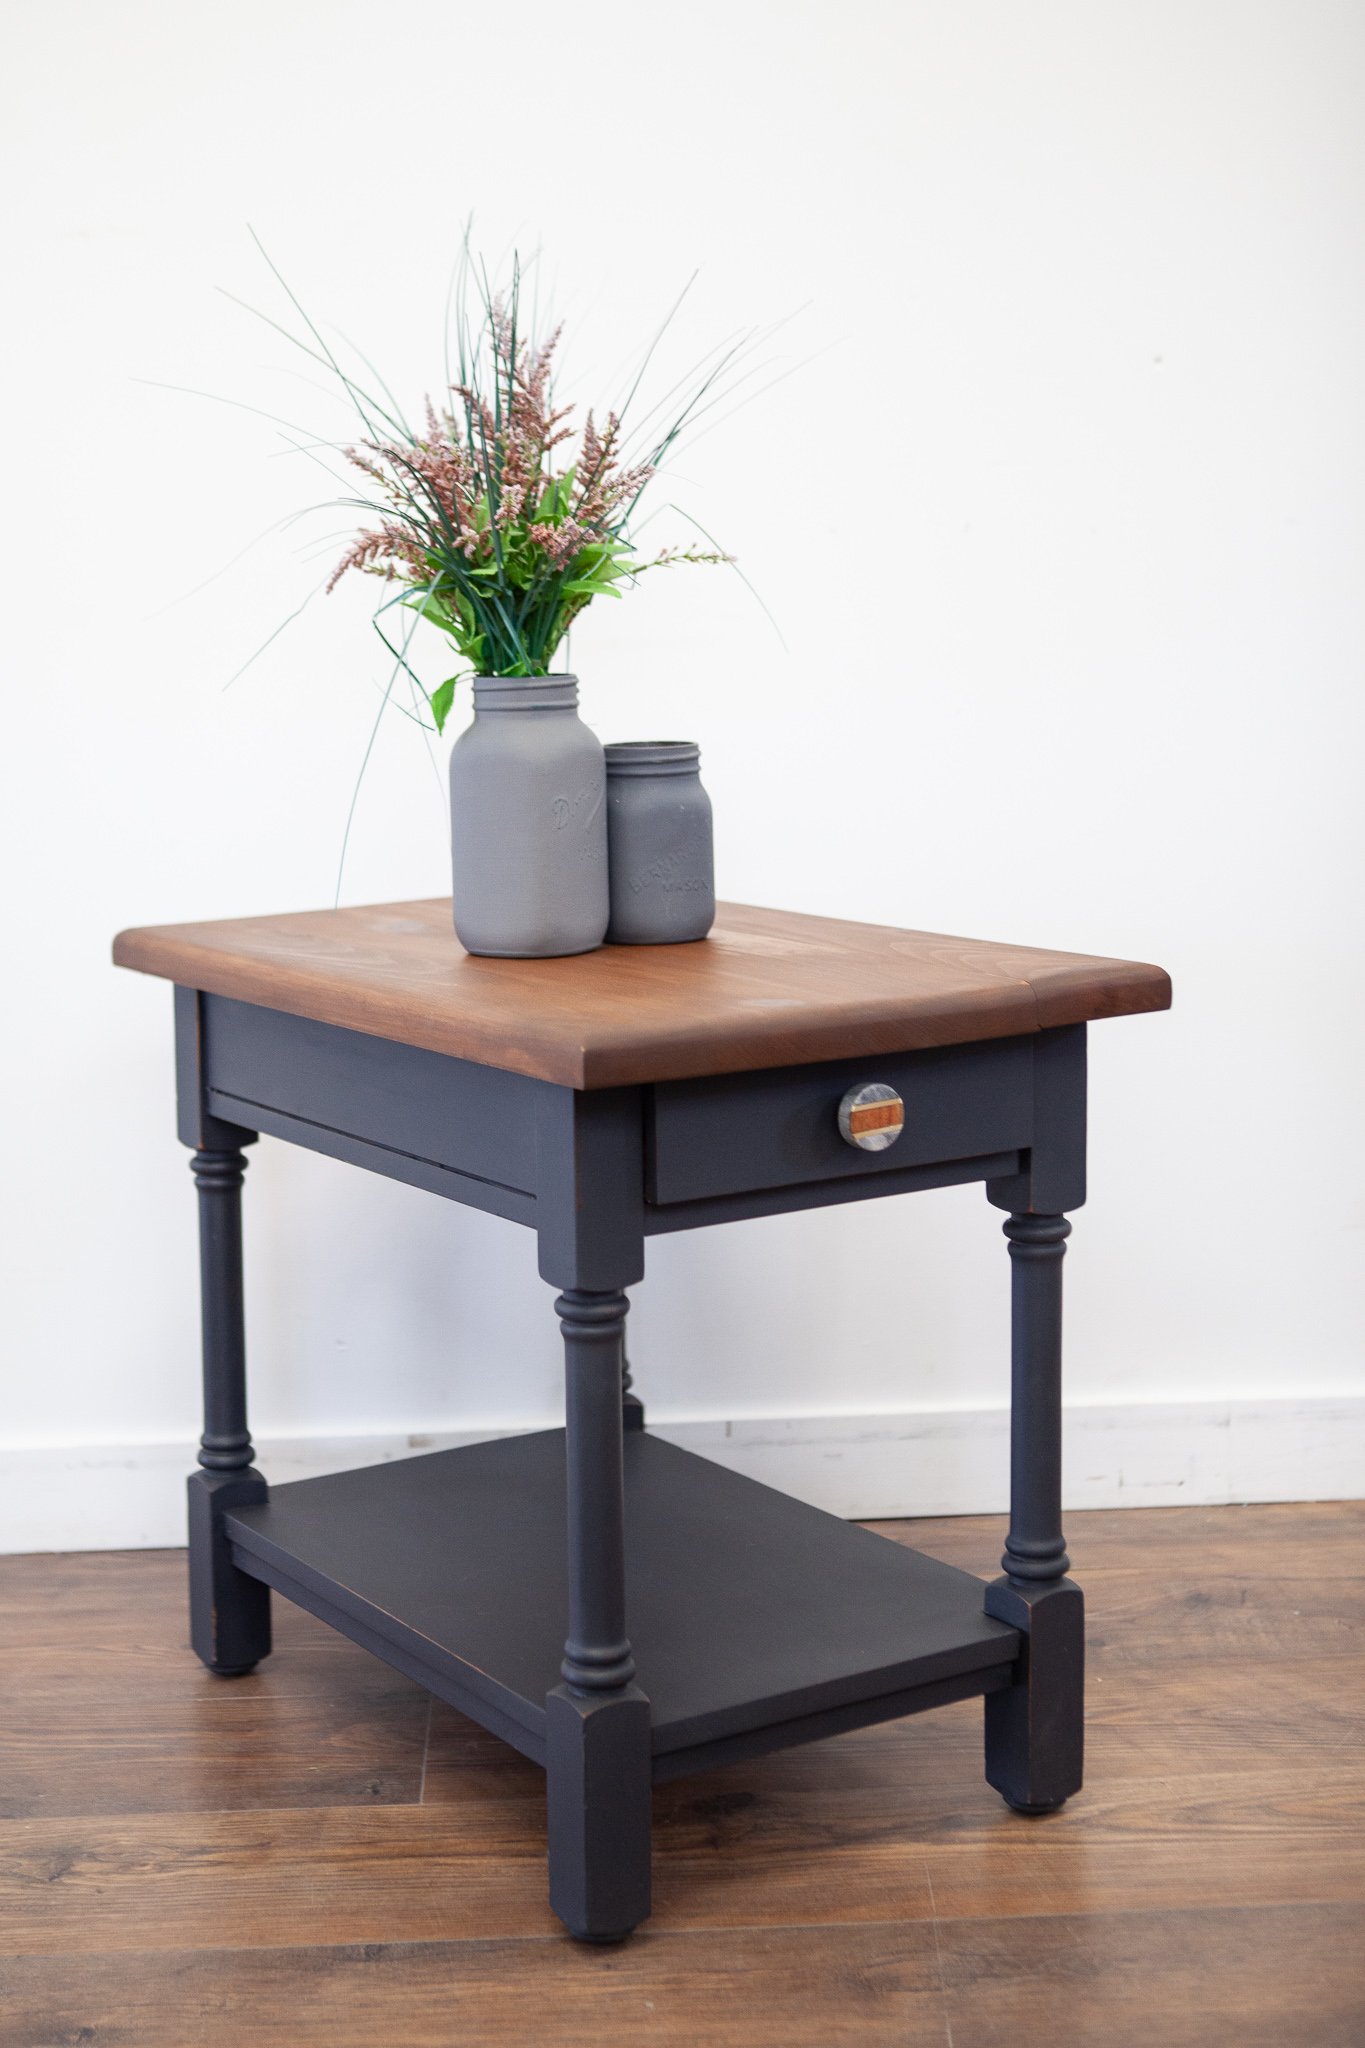
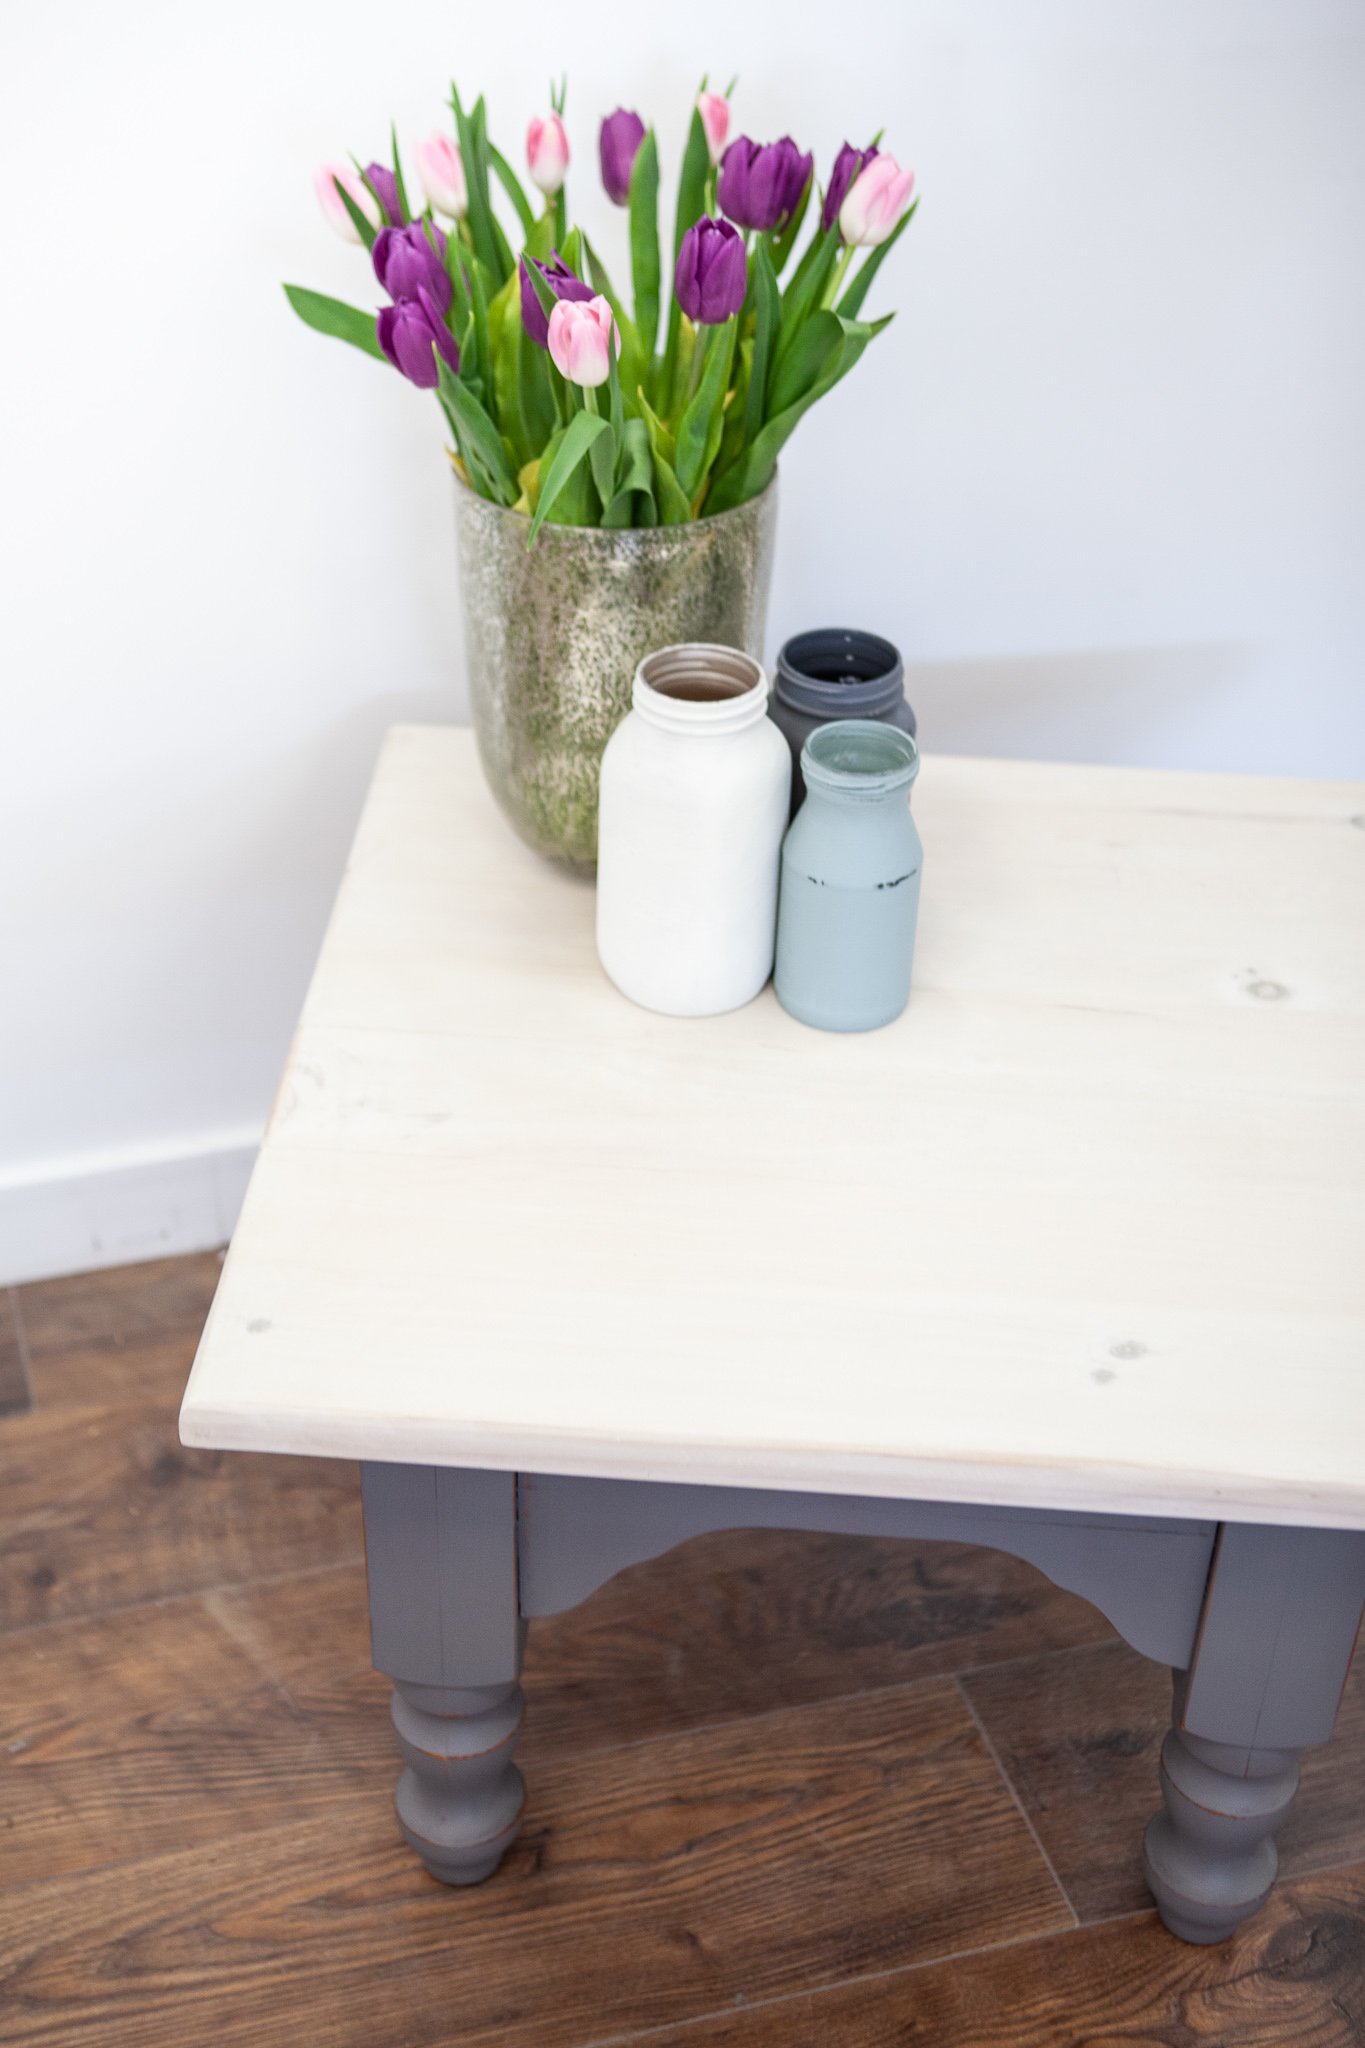
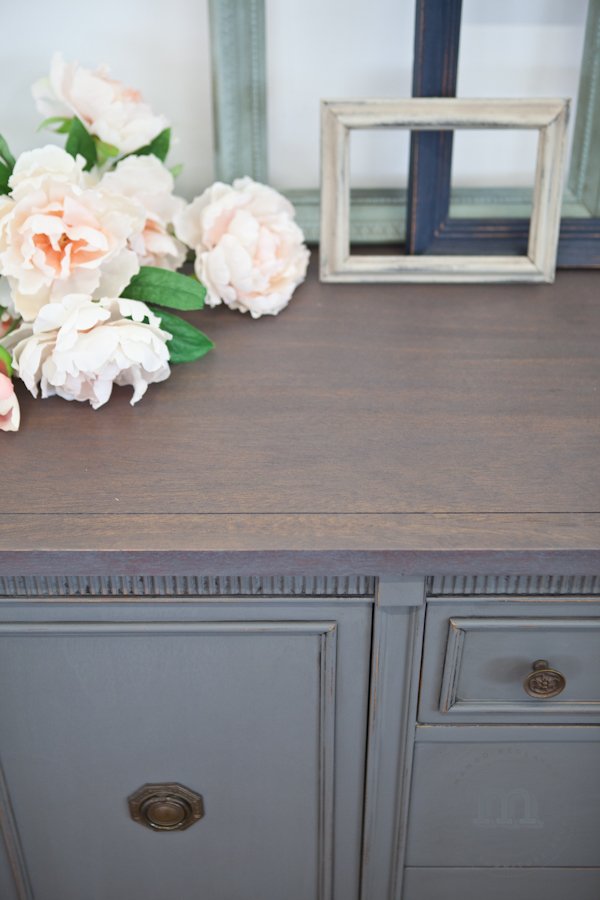
We recently reclaimed this old pine end table using Charlie from the Mango Paint line as a stain for the top. We were looking for a rich, warm brown to compliment the base which we painted in Noah.

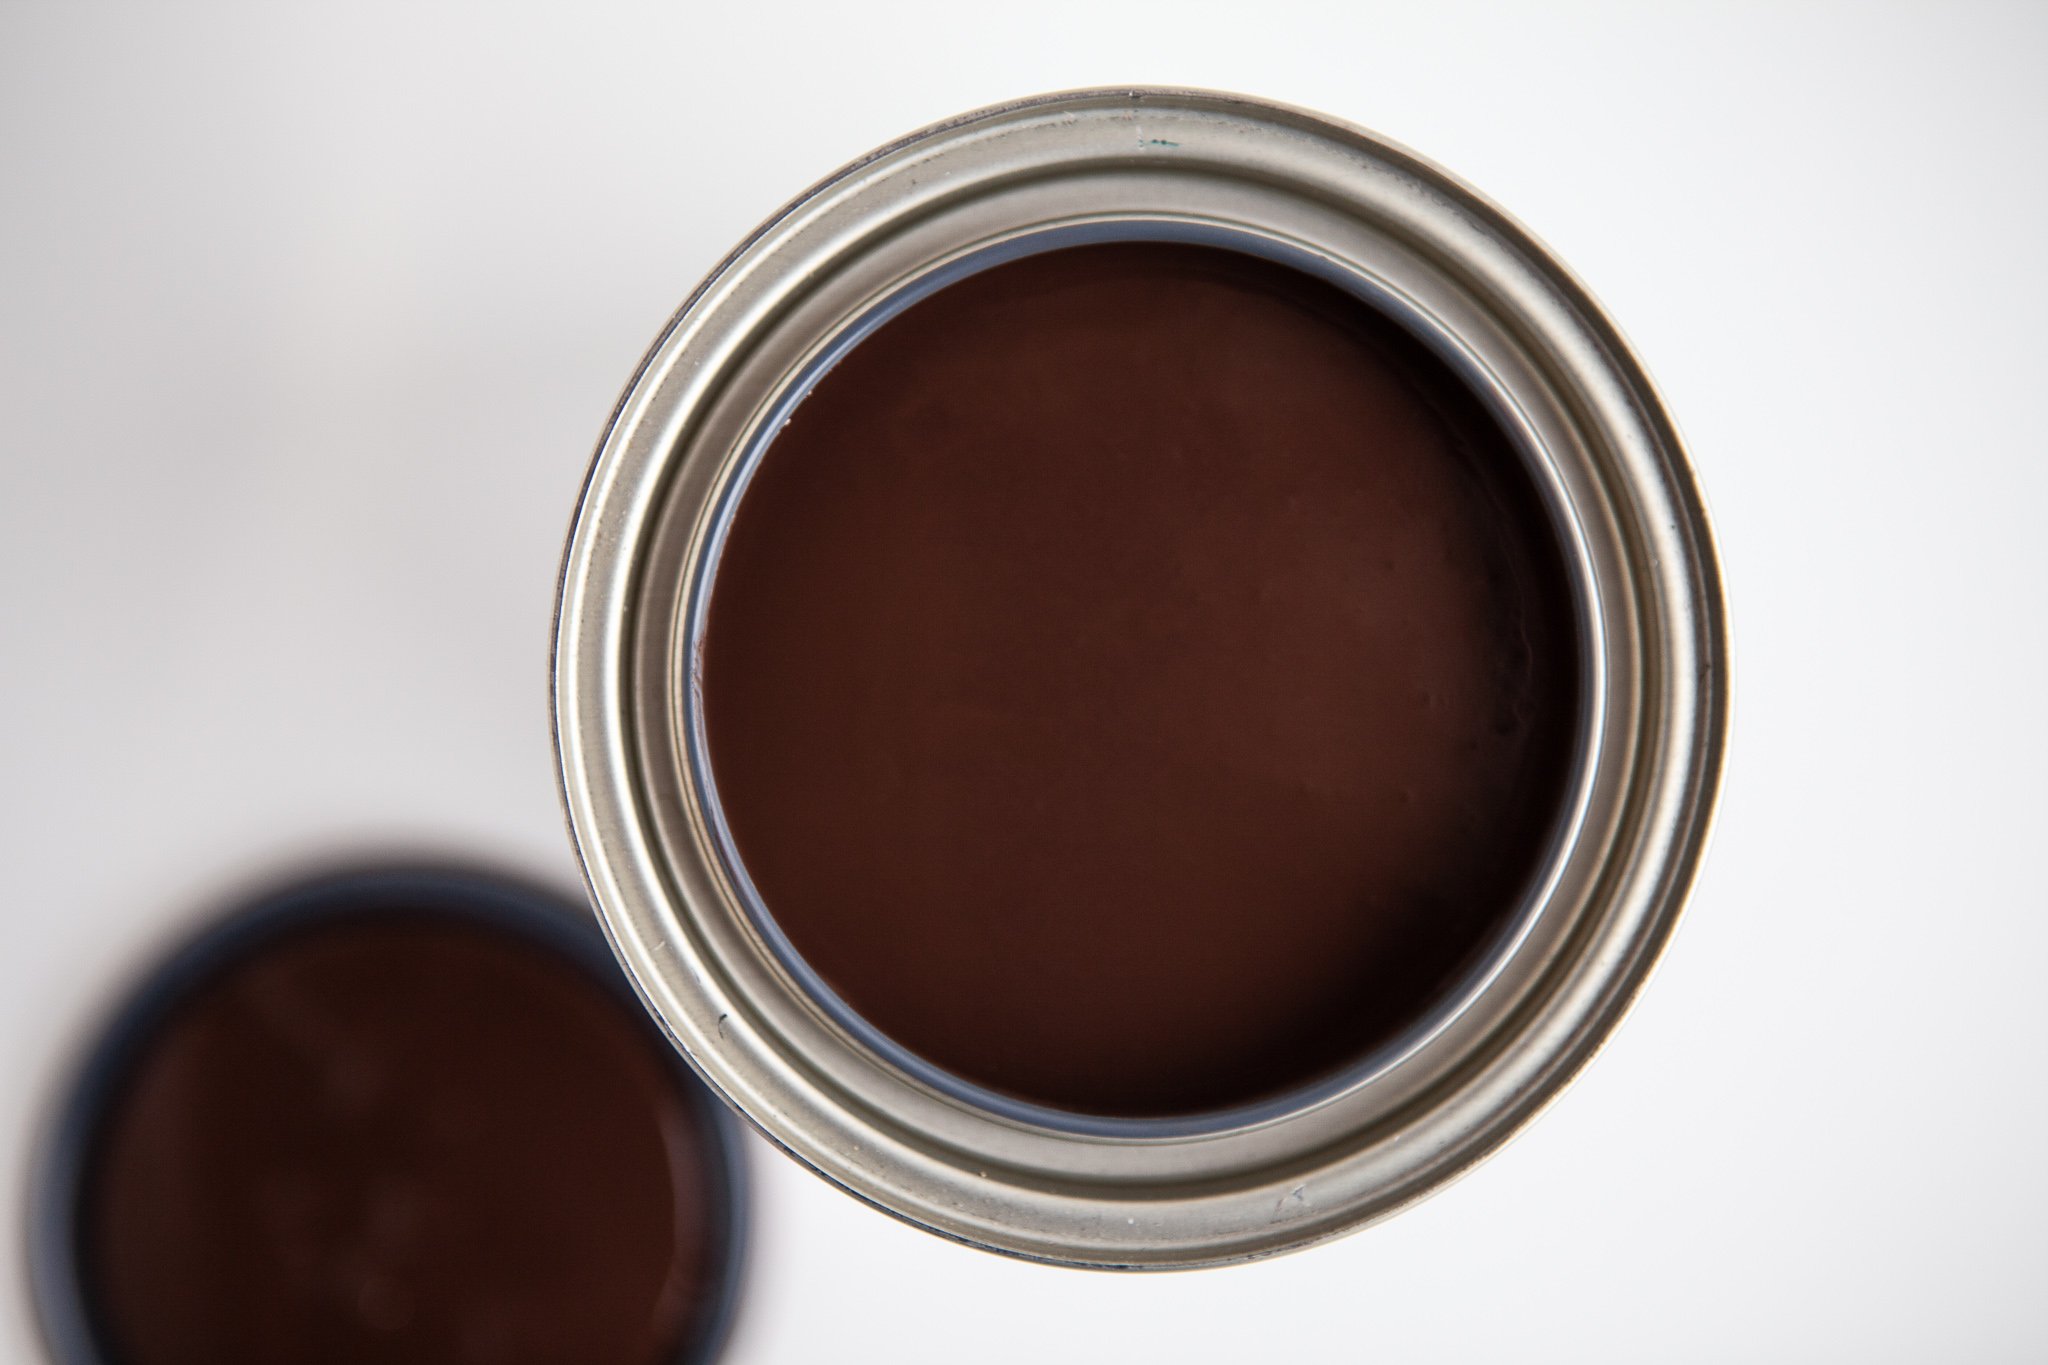
Charlie is our favourite Mango Paint colour to use as a base for most stain/ wash projects as it is a gorgeous, chocolatey brown which is super versatile!
With the help of our lovely studio associate, Jenn, I’ve created this super simple step-by-step guide to creating a stained look with Mango Paint for you to follow along with!
Step 1: PREP
Prepping your piece will be the most important part—it can be laborious, but it is so worth it if your vision is to keep some natural wood elements on your piece!
Using a palm sander or orbital sander, use a 180-220 grit sand paper to gradually remove the original varnish or finish until you are down to the bare wood.
This can get a bit tricky if your piece is quite detailed or has a lot of edges…those are usually the pieces we opt to paint solid overall!

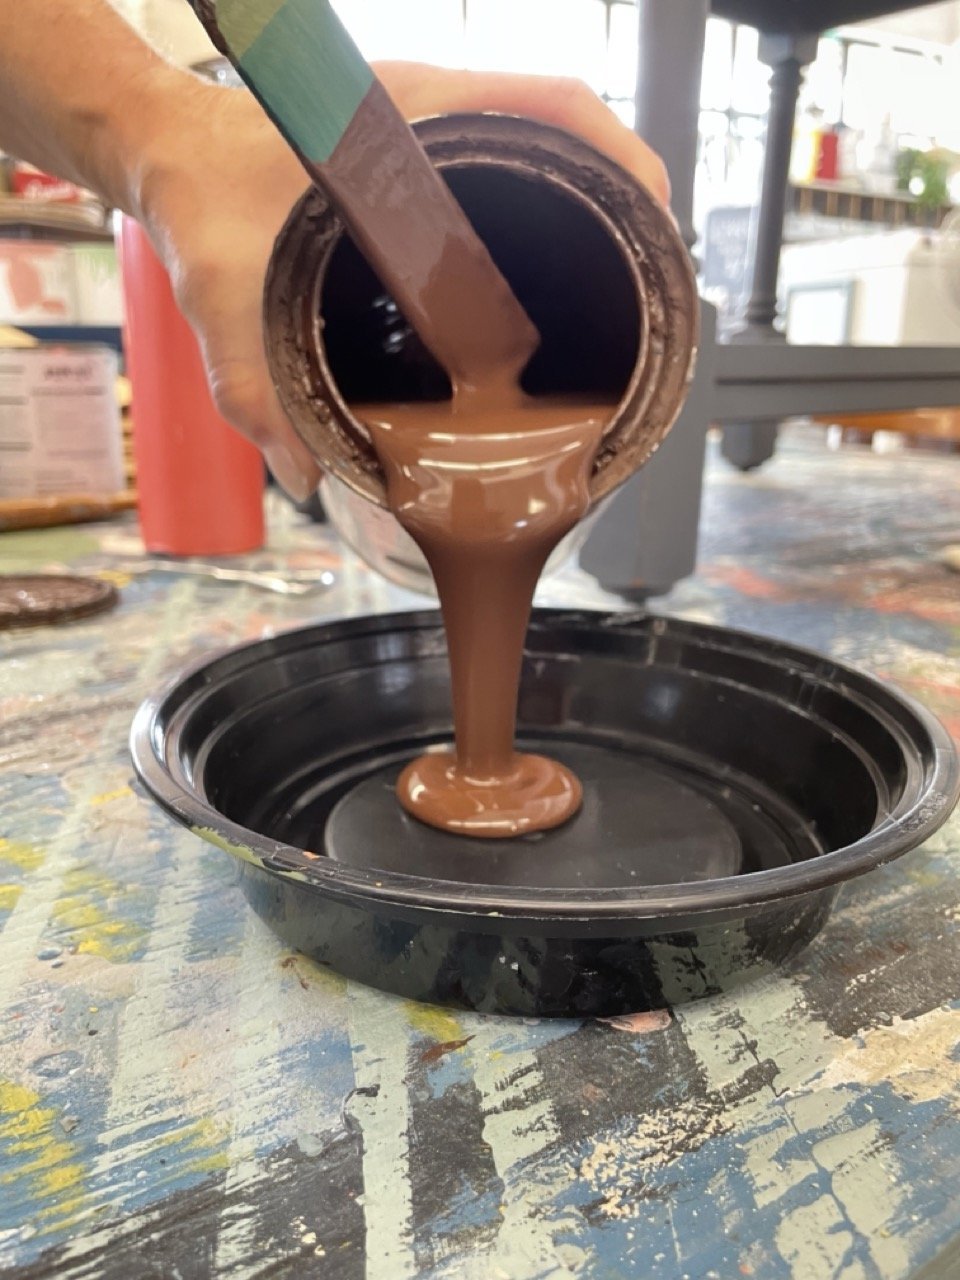
Step 2: MAKING THE STAIN/ WASH
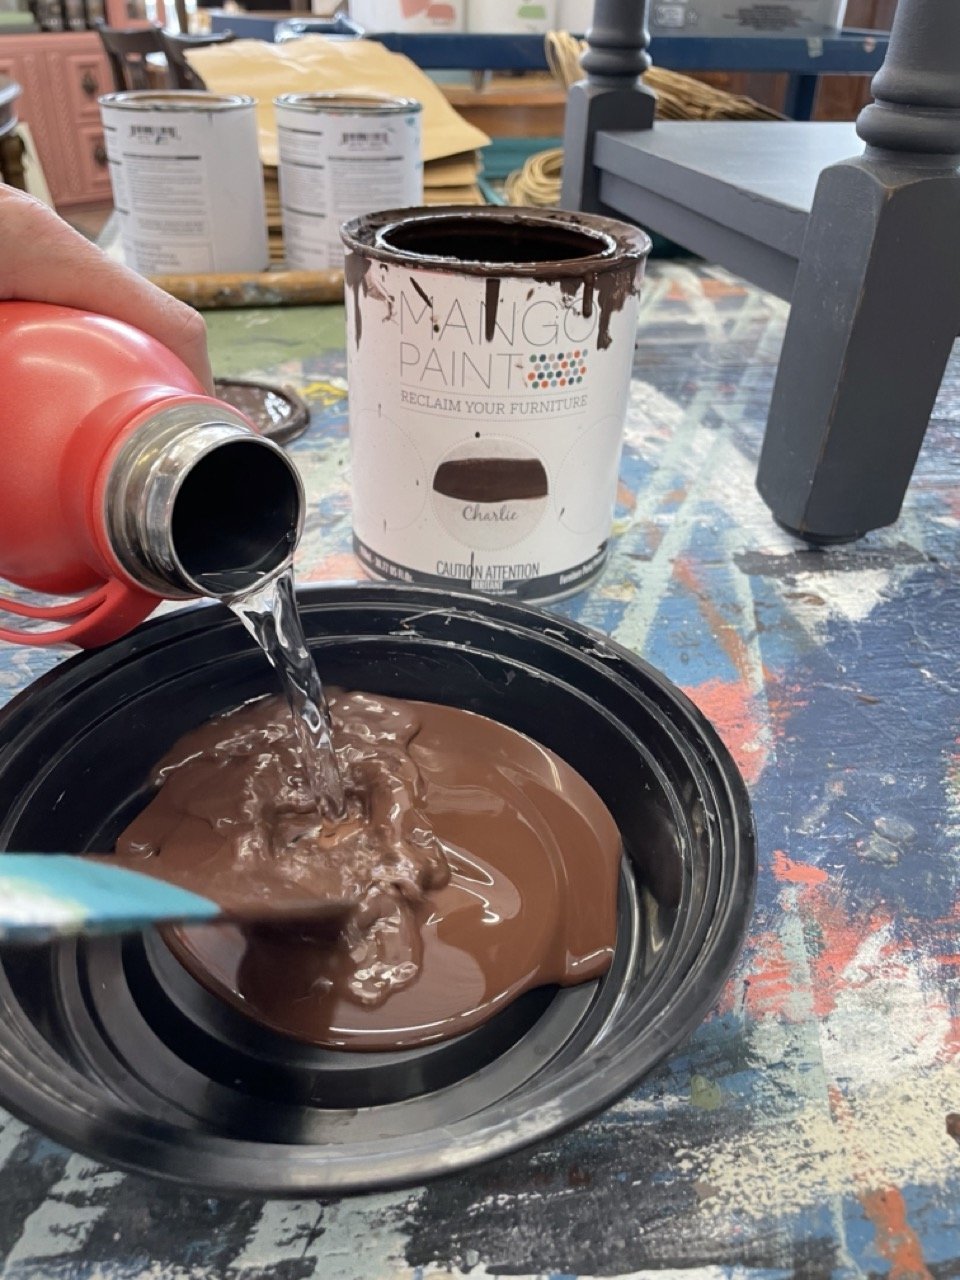
Only 2 ingredients: Mango Paint & water!
You have total control over how dark or light your stain is depending on how much water you mix with your paint!
Our advice is to start with a 80-20 mix (80% water & 20% paint) and test on a sample board or stir stick to get an idea of the tone. You can always add a touch more paint if you are wanting a darker/ richer look, or more water for a lighter look.
Step 3: APPLICATION
Now for the fun part…
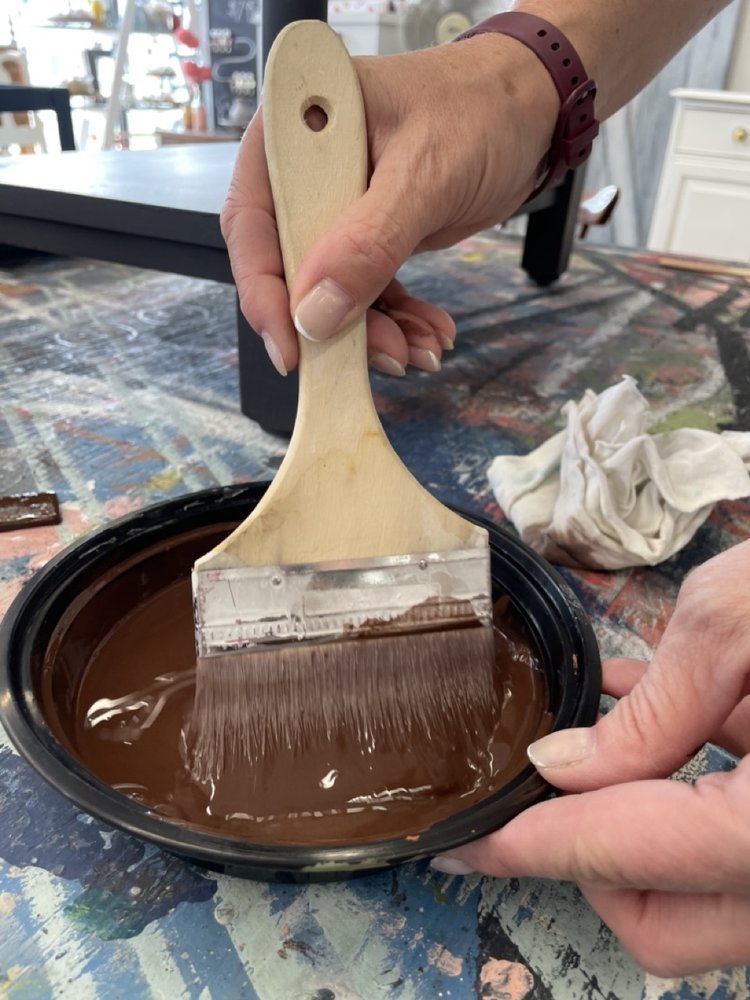
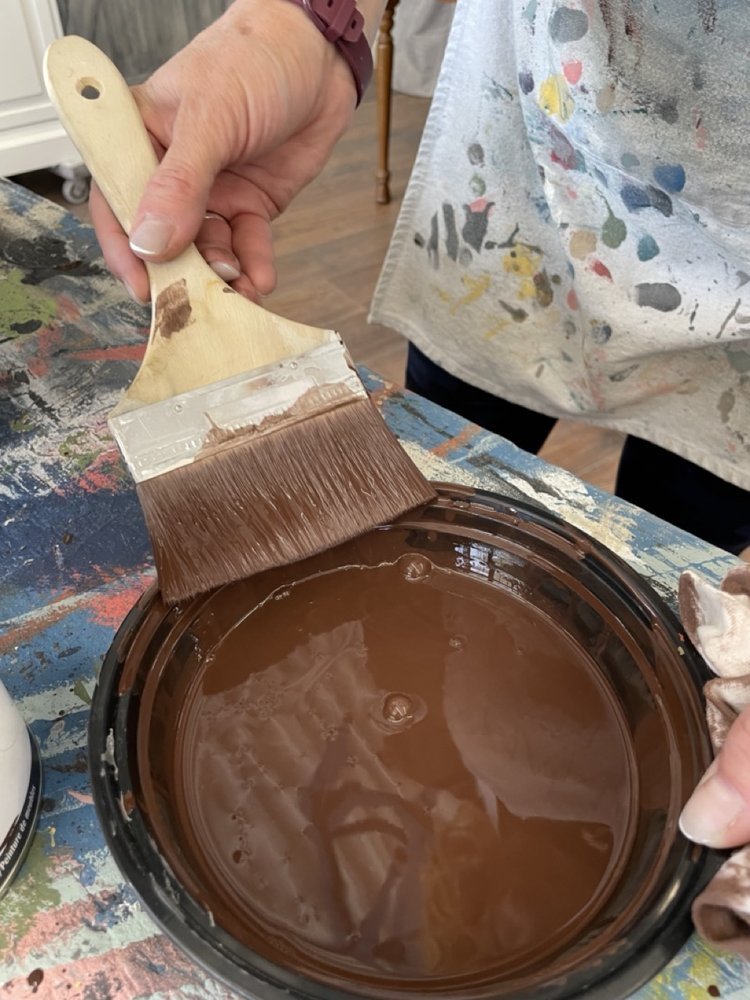
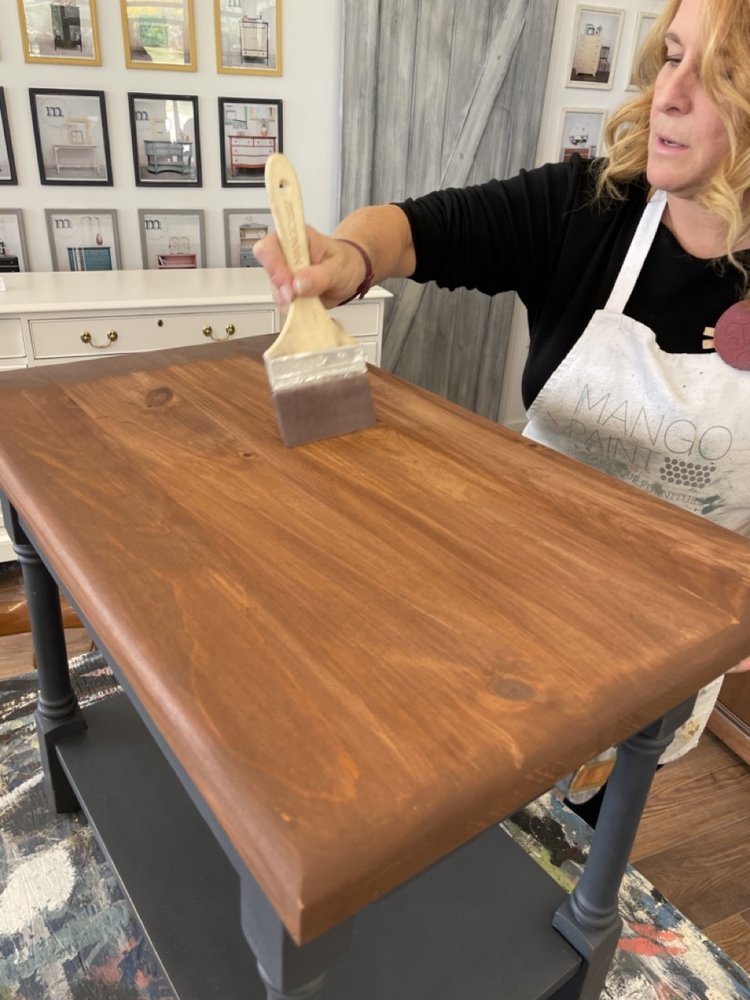
Once your stain is mixed well to your desired shade, dip a 4” Ultra Soft brush into your stain & offload any excess onto the rim of your container to avoid any drippy drops.
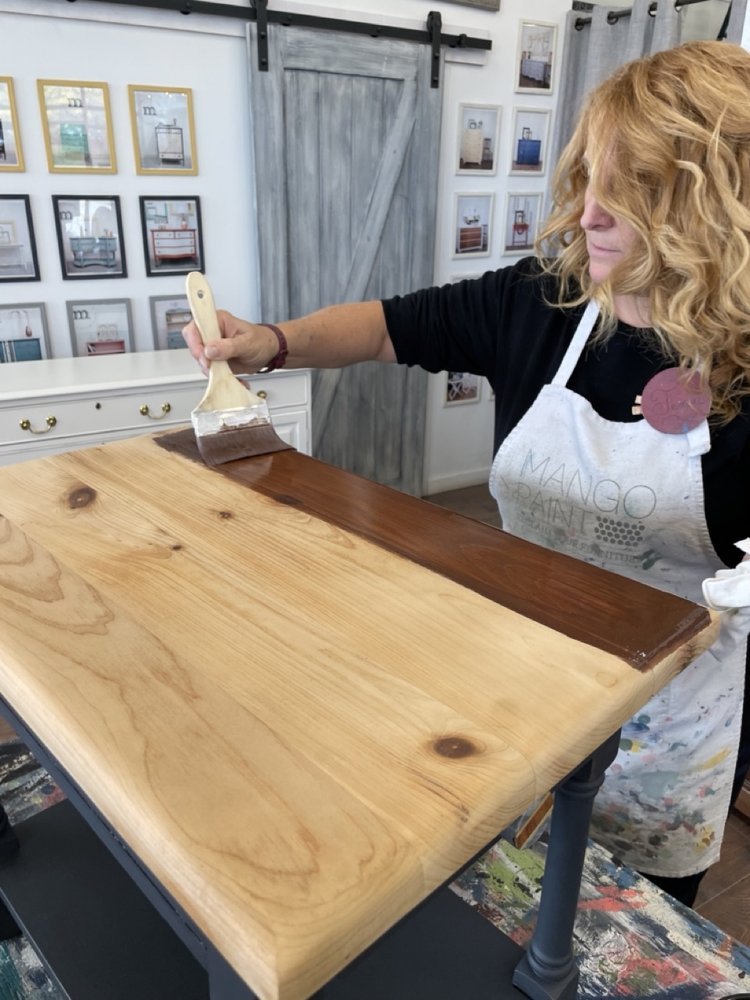
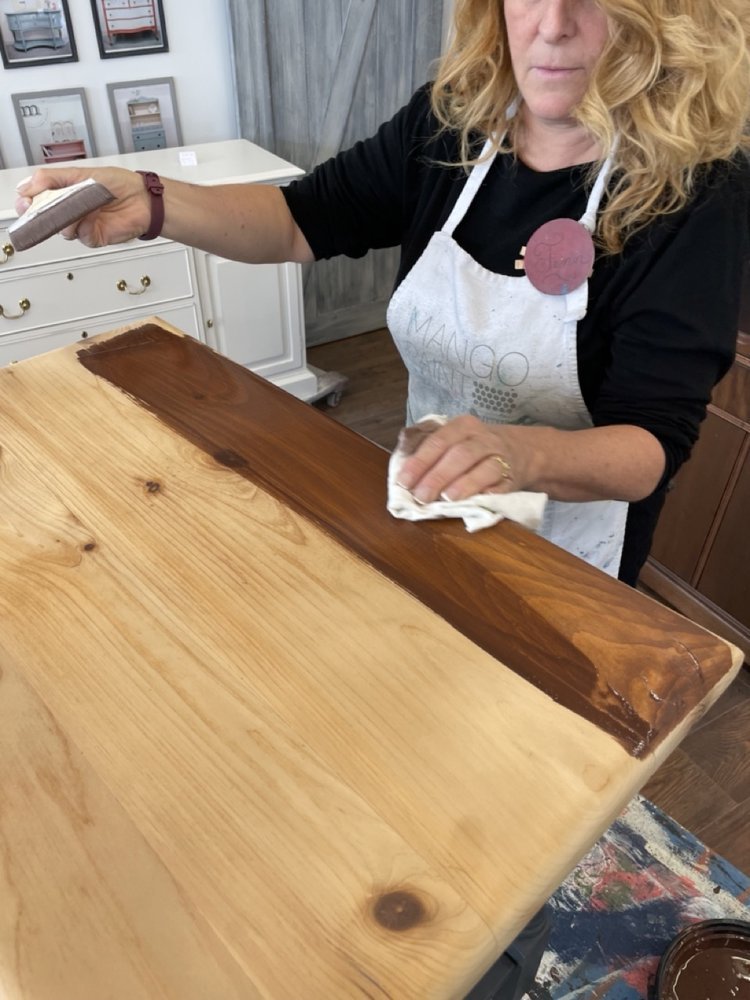
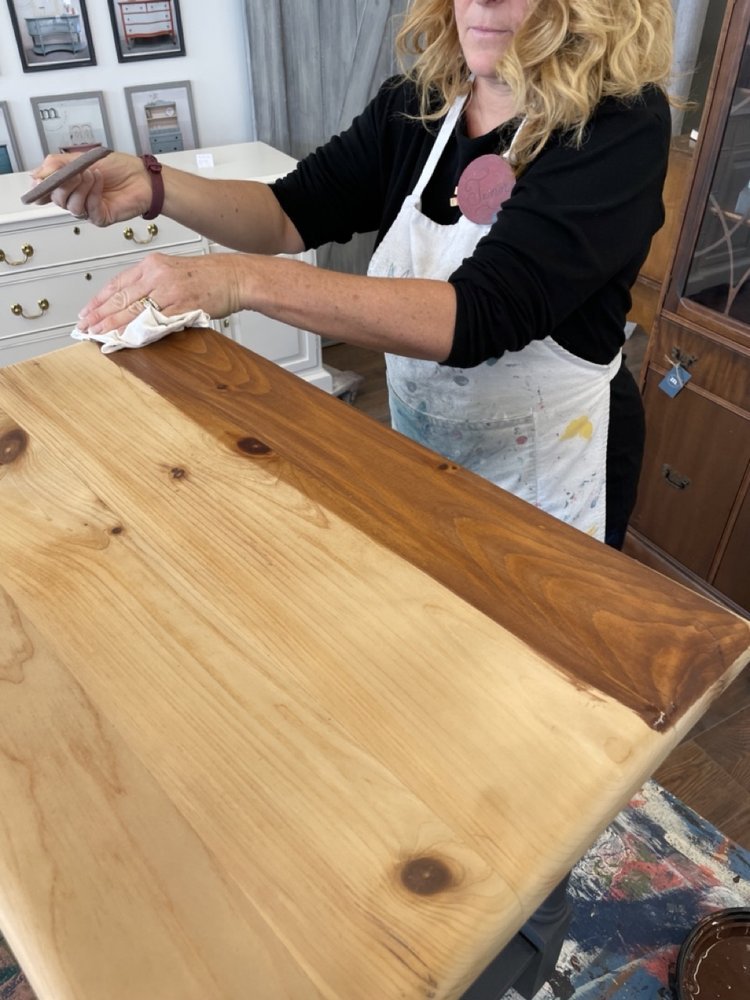
Then, in the direction of the grain, gently brush the stain across the surface of your piece one section at a time. Once the section is covered, use a clean dry cloth to wipe the stained area—this will simultaneously push the stain into the wood & remove any excess.
Repeat this process to complete you entire surface.

Step 4: TIME TO SEAL IT
Just like painting any piece of furniture, you want to make sure you seal & protect all your hard work—with either the Mango Paint Beeswax Furniture Finish or Table Top Finish.
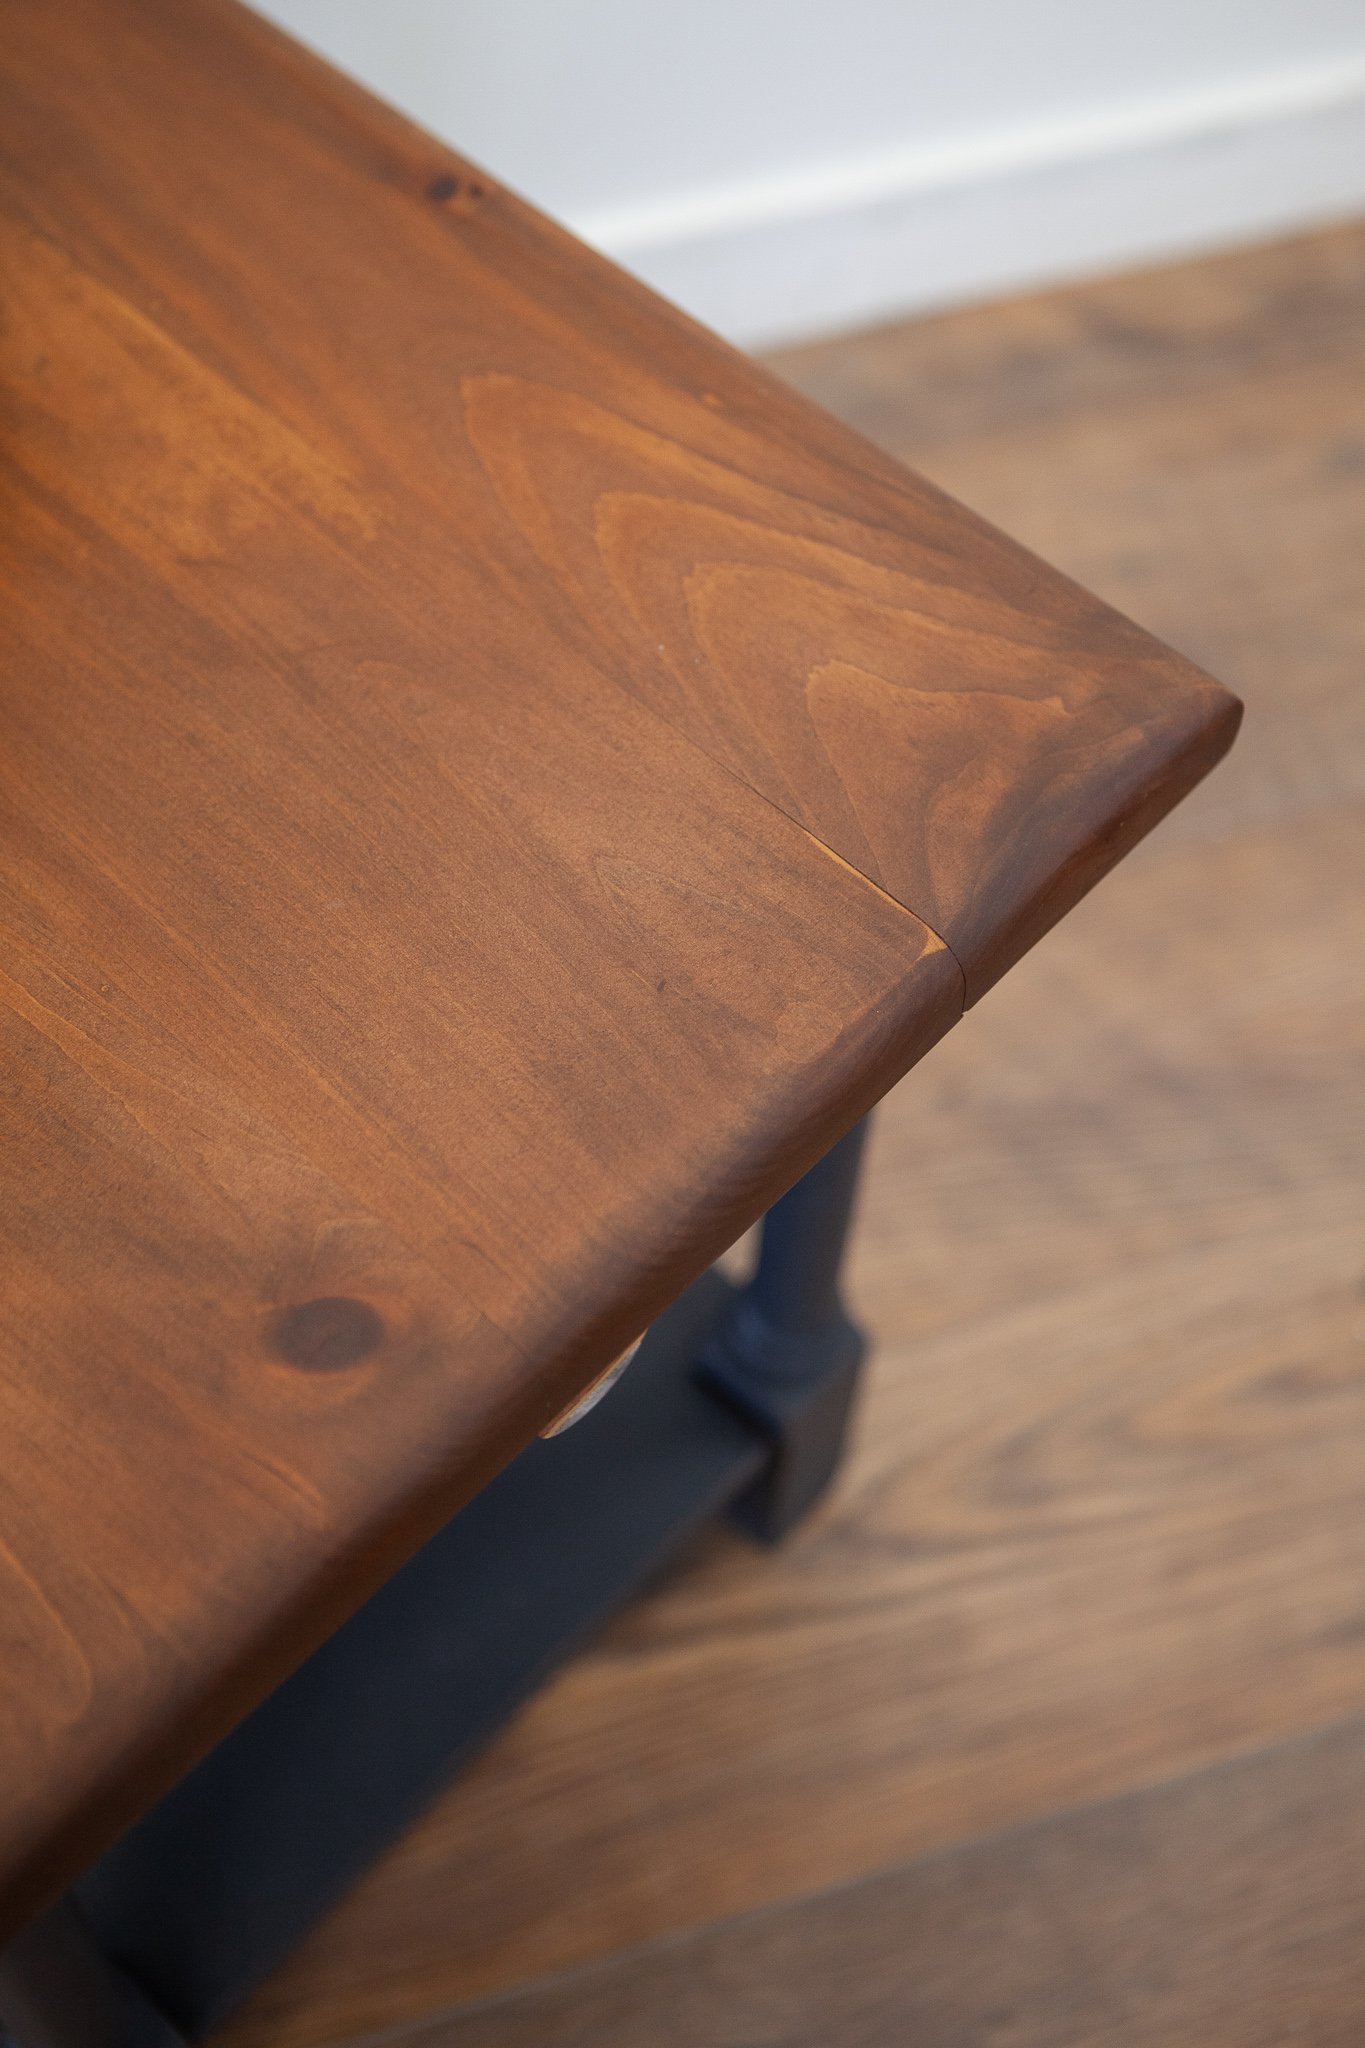
We sealed this lovely side table with the Natural Beeswax Furniture Finish (which is our absolute FAVE!), but for any super high traffic projects (dining table tops…), we recommend using the Table Top Finish.
Once your stained surface is fully dried, simple apply the beeswax with a waxing brush or clean dry rag. Be sure to wipe off all the excess beeswax with a clean rag until there is no build up or residue left on the surface.

And VOILA!

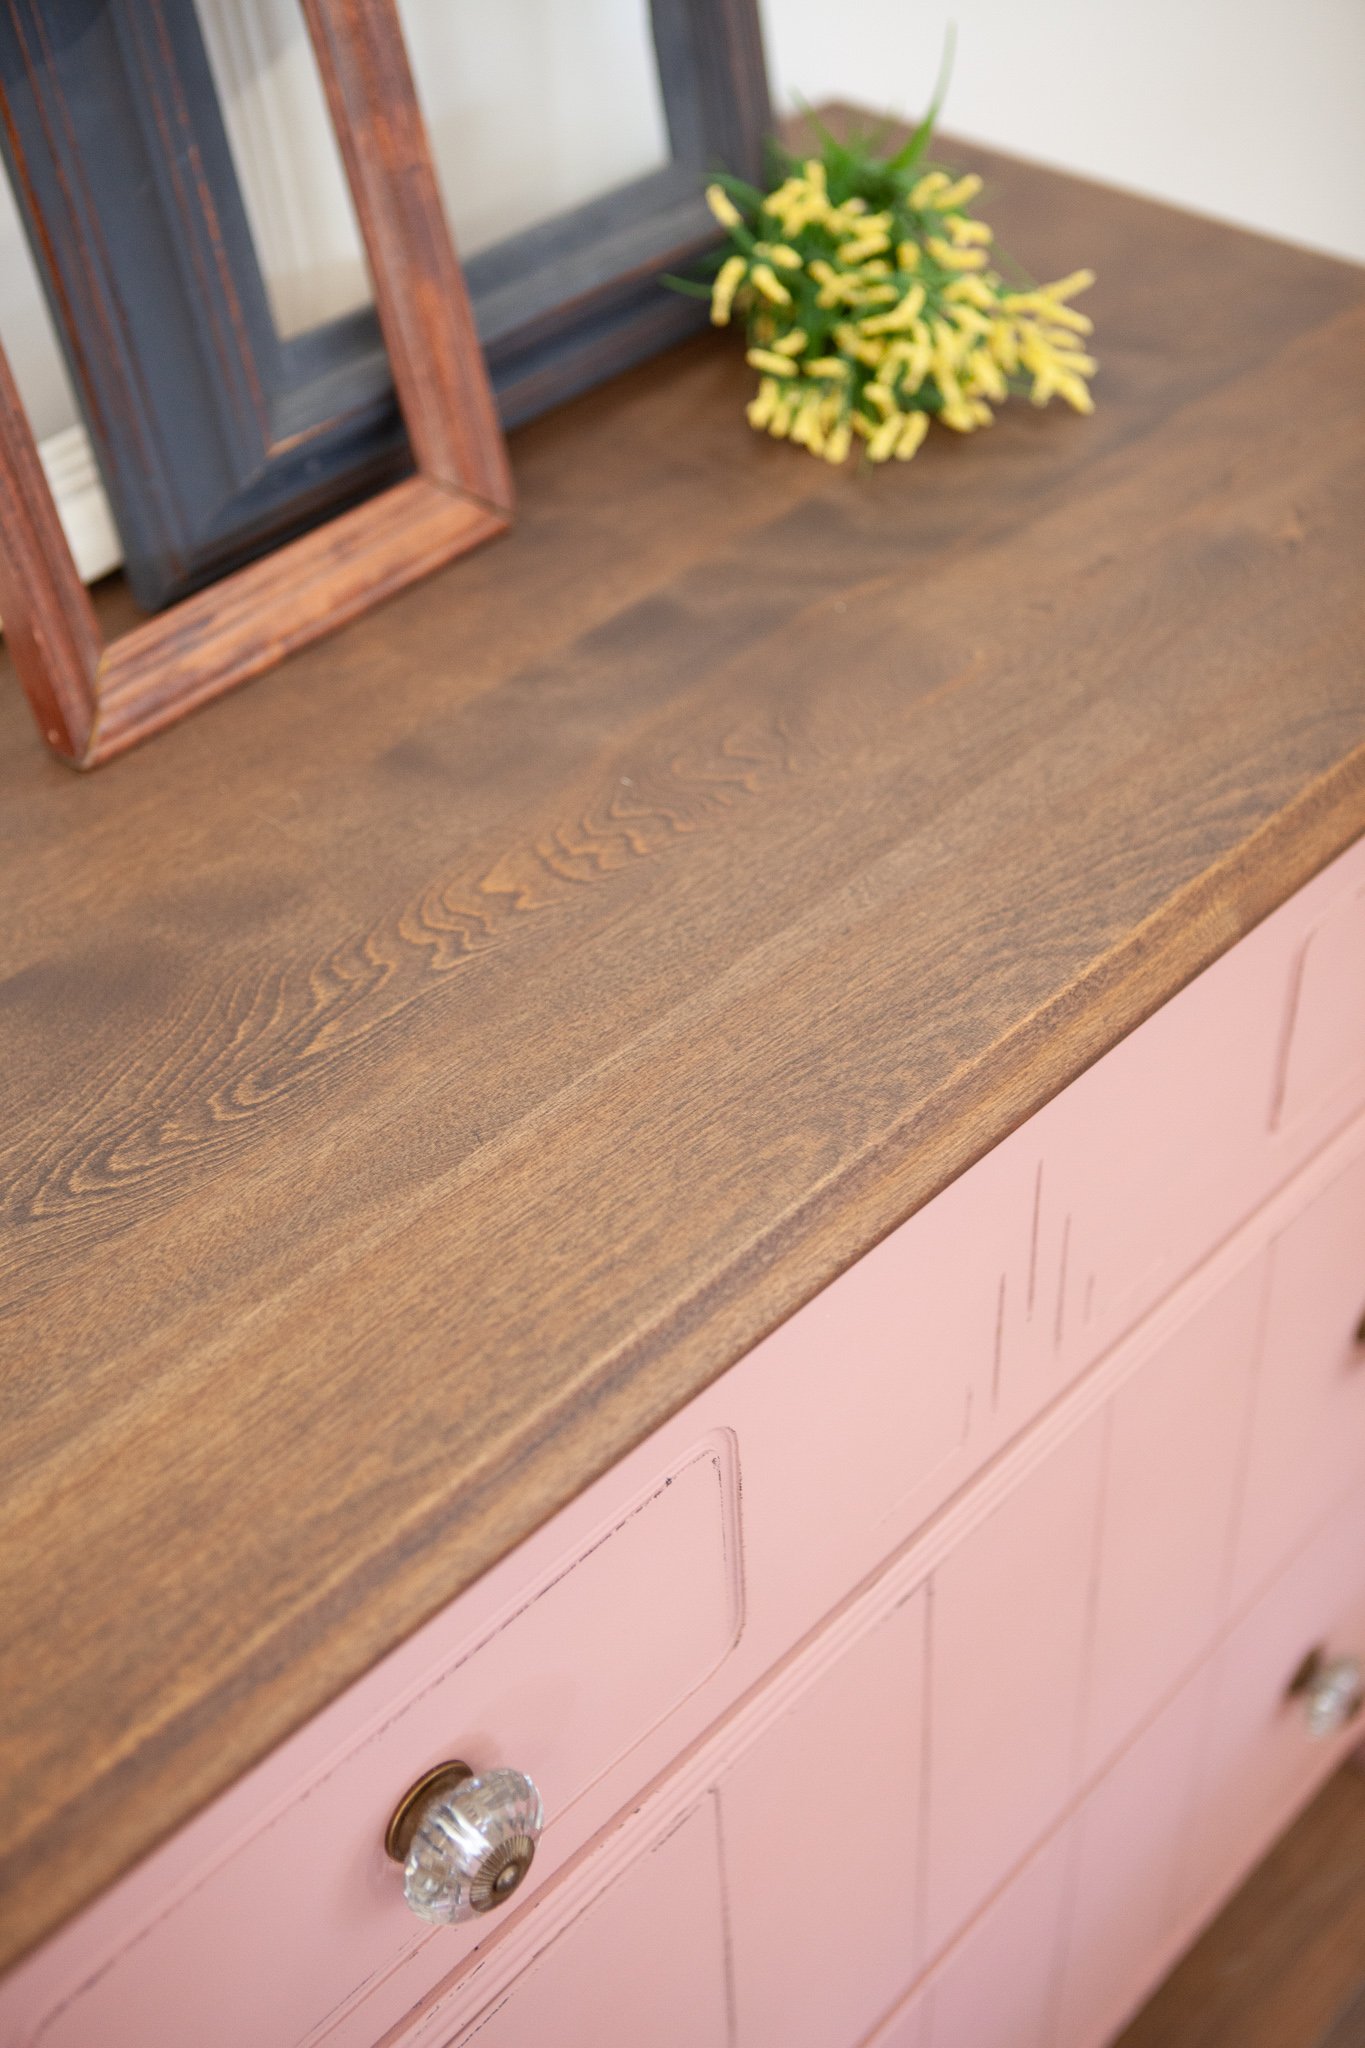
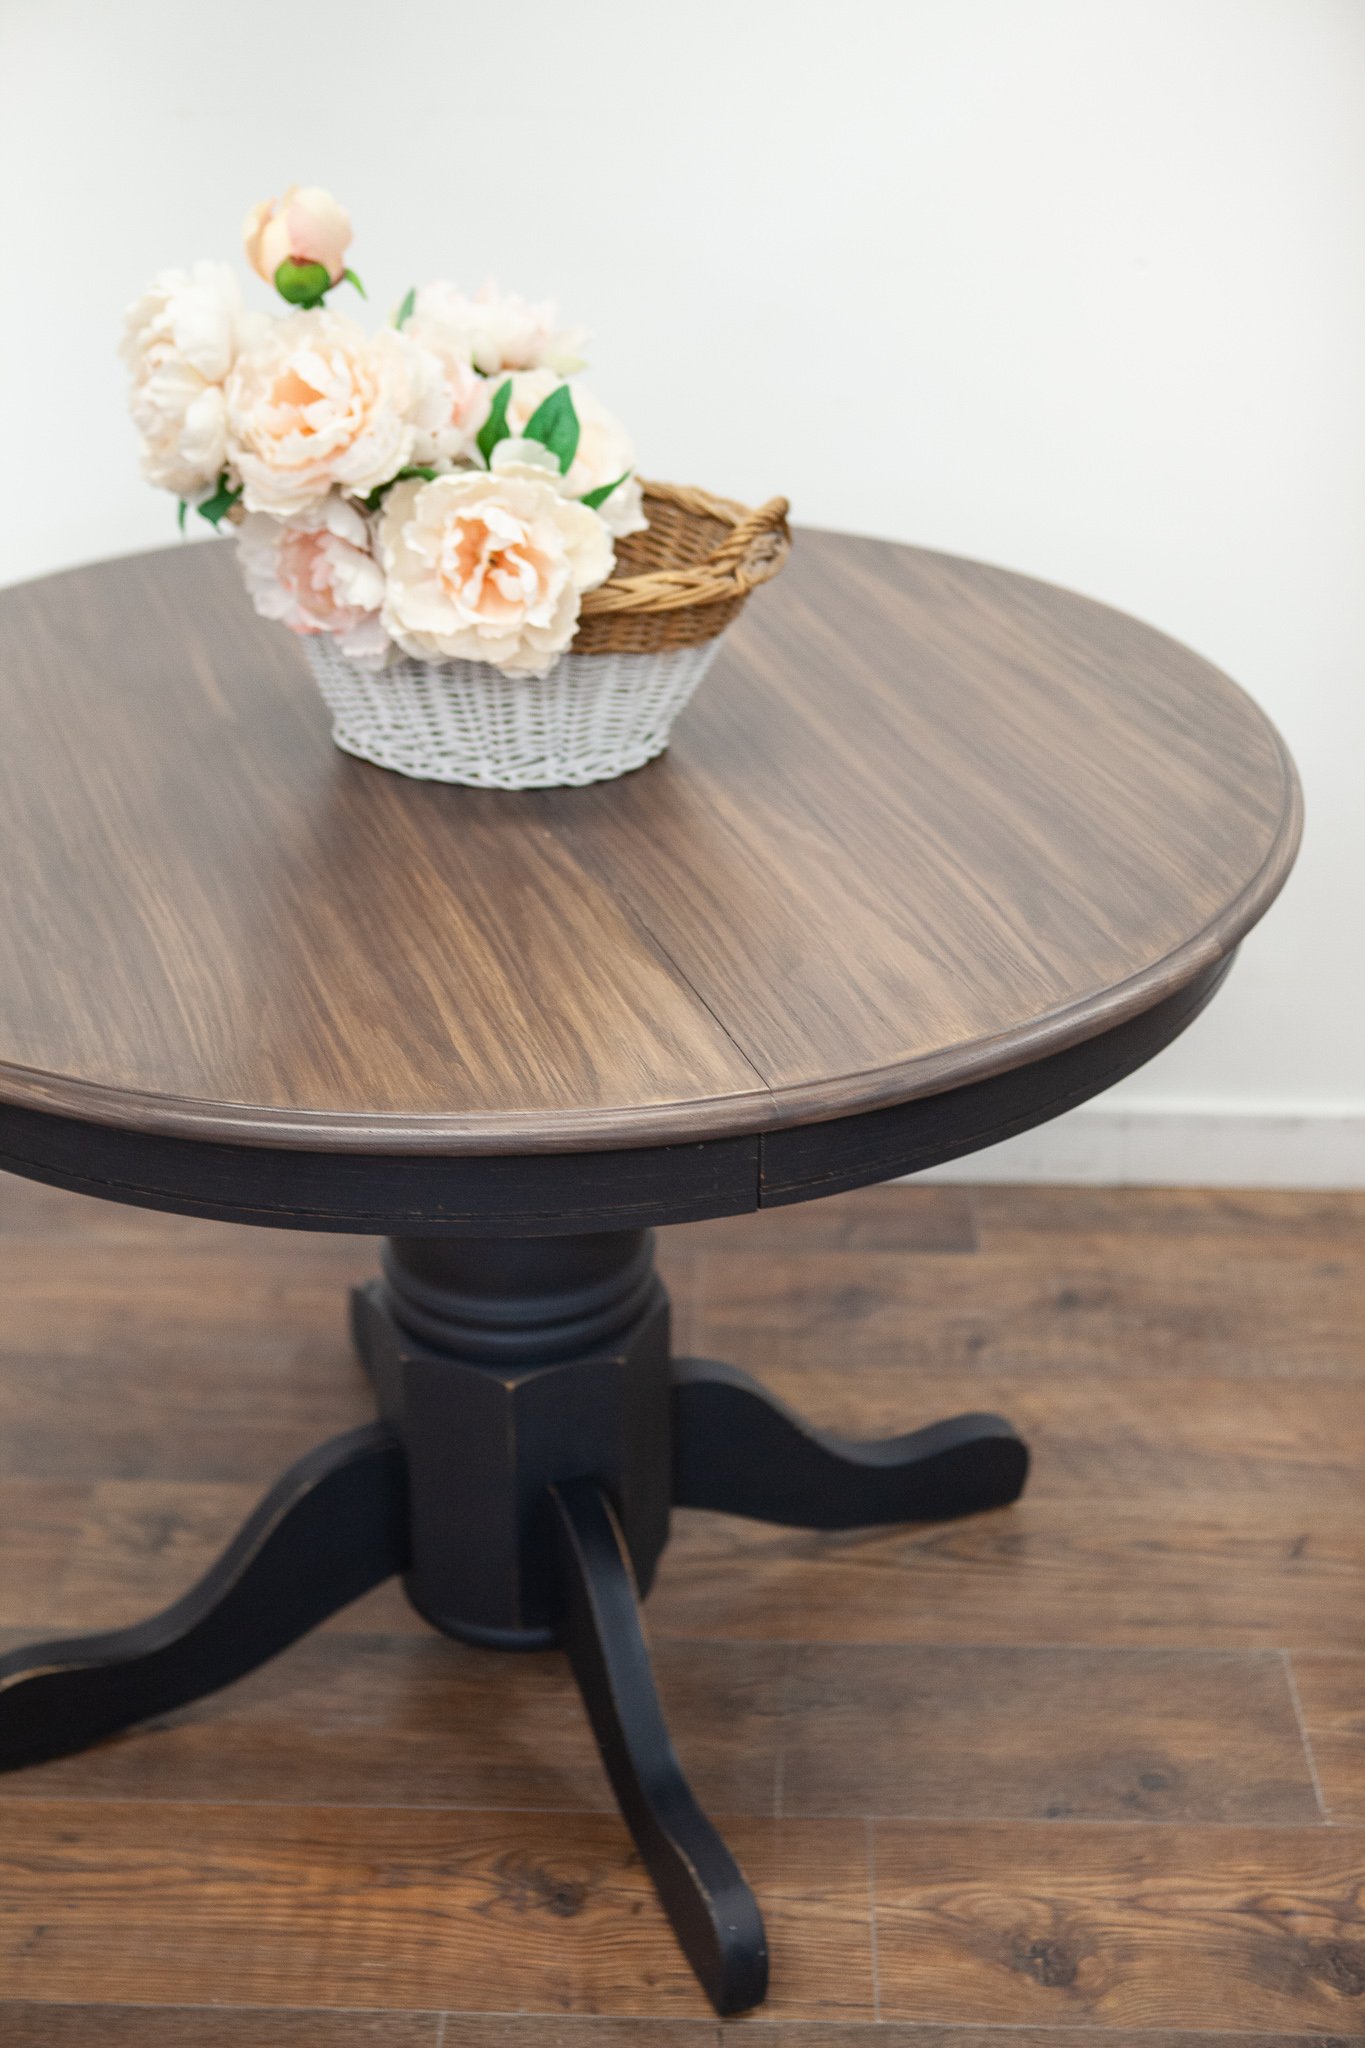
Don’t be afraid to think outside of the box—you can water down ANY shade from the Mango Paint line to create a stain/ wash!
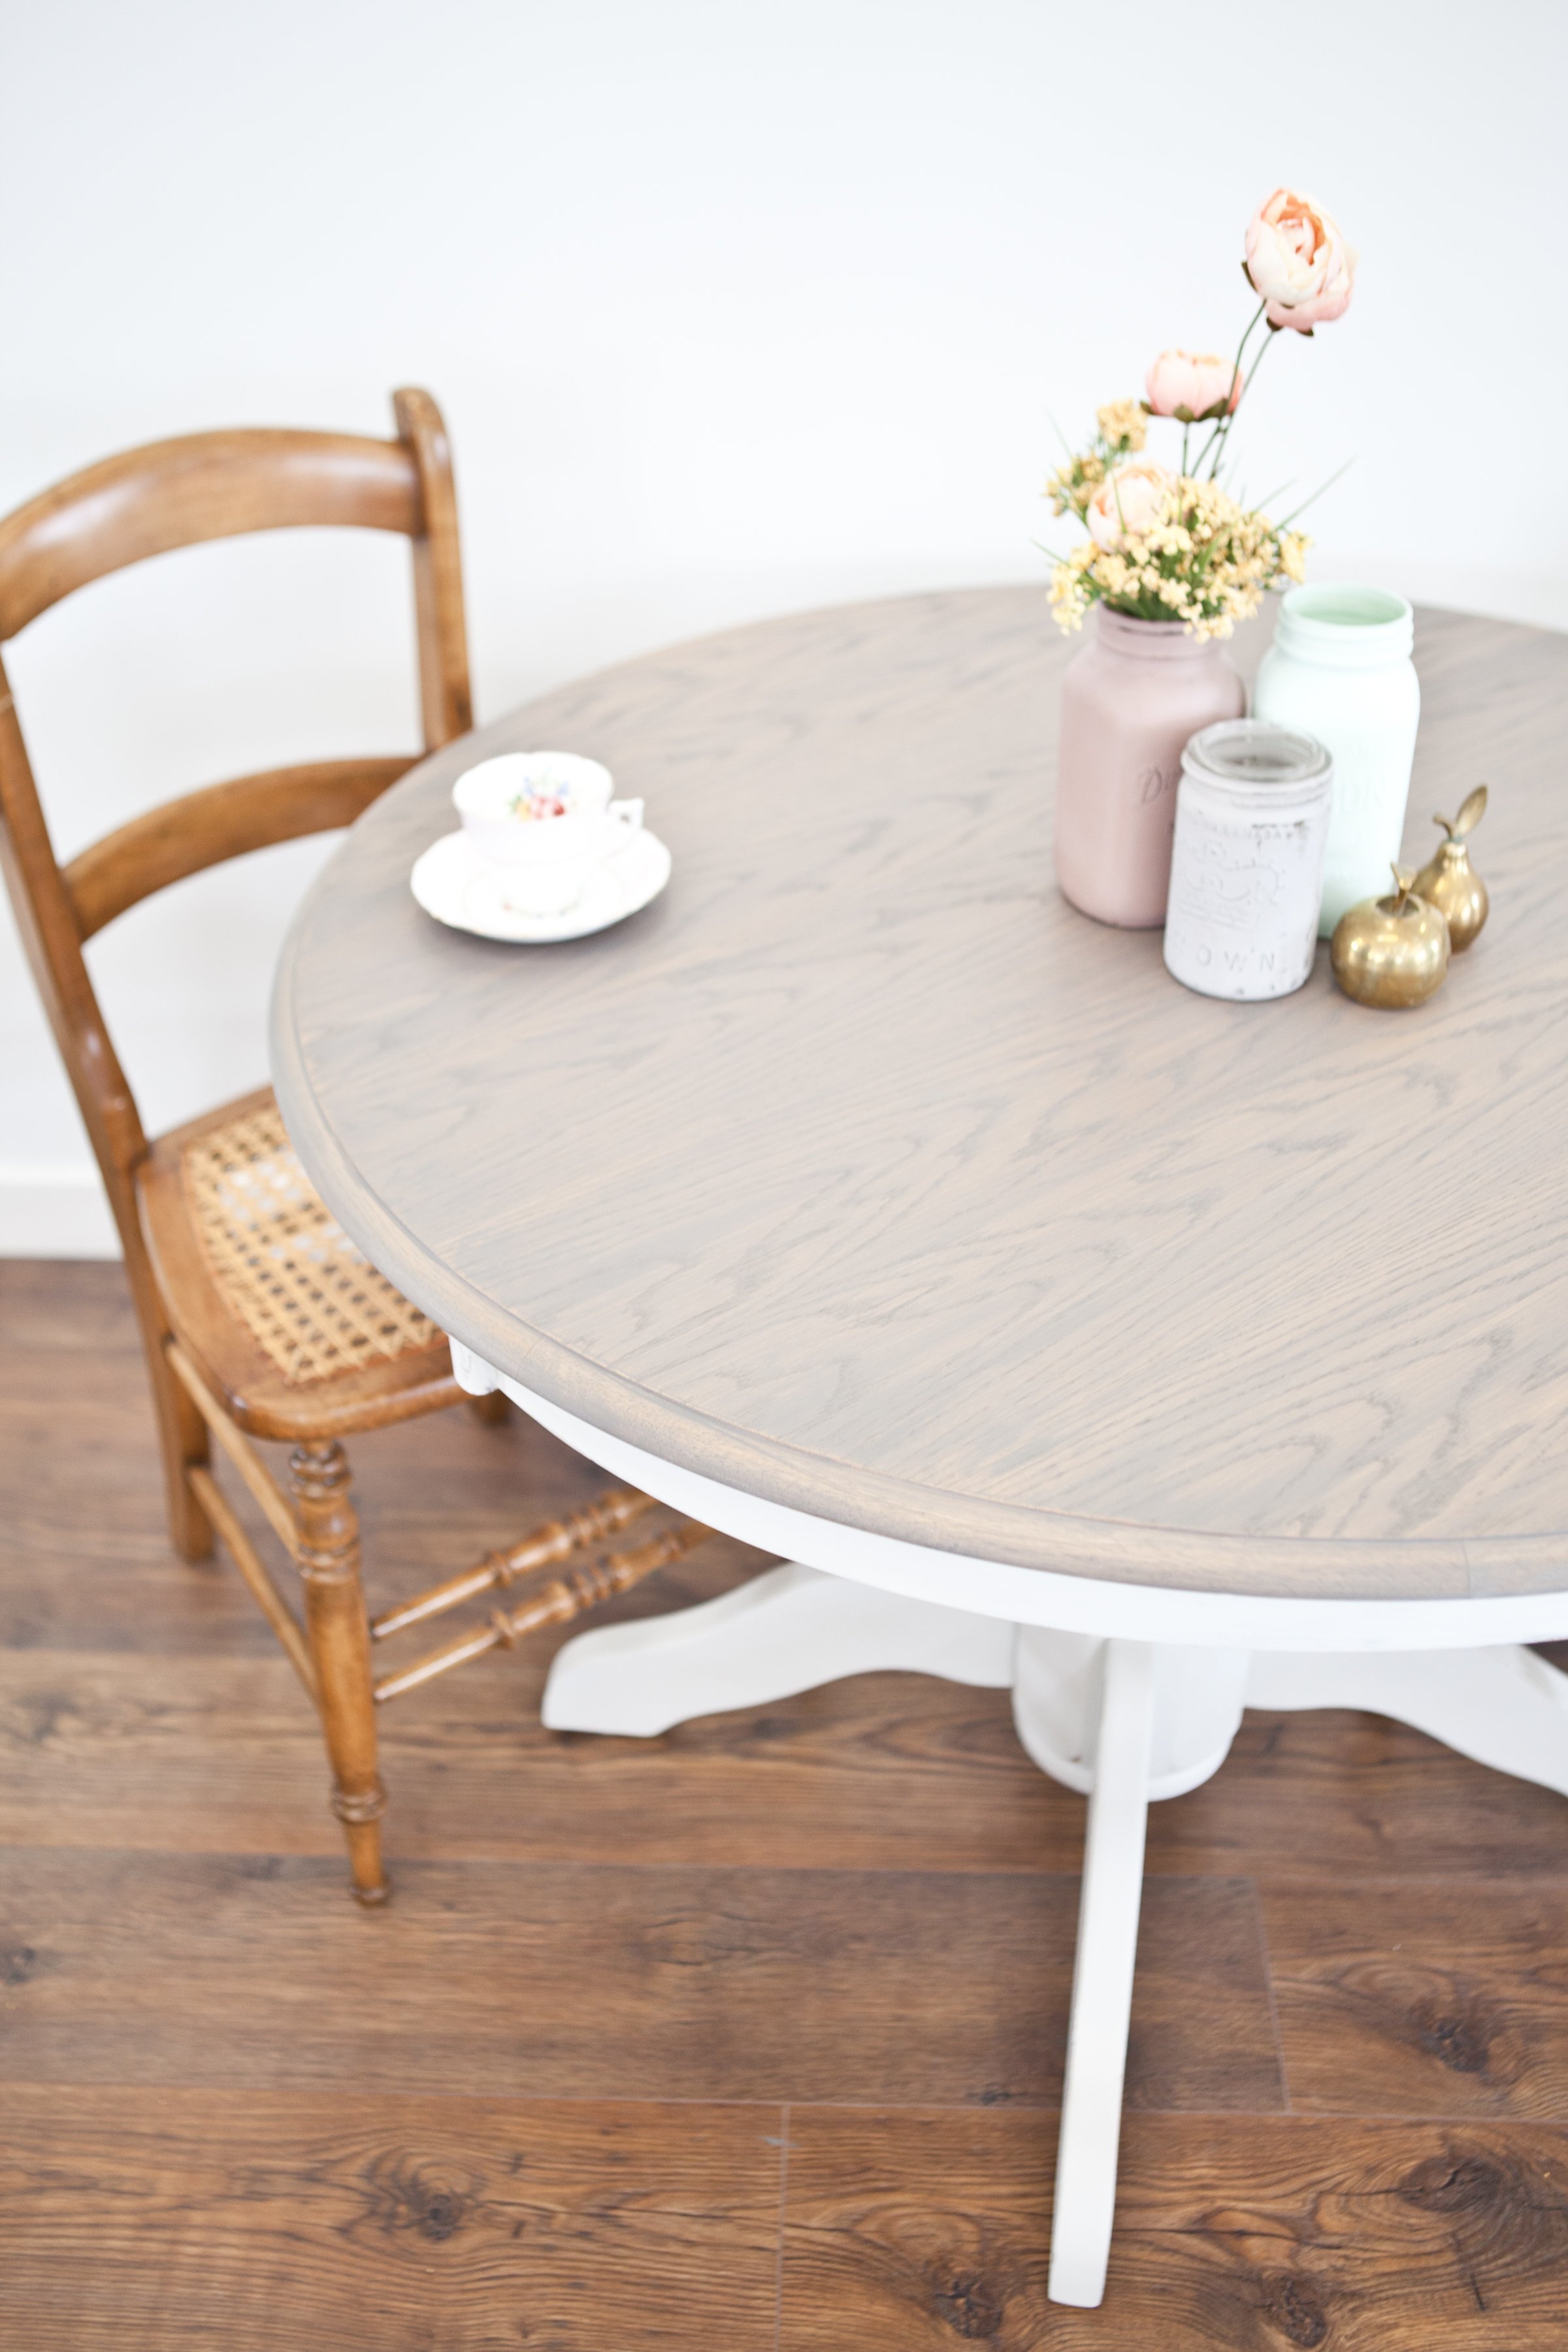
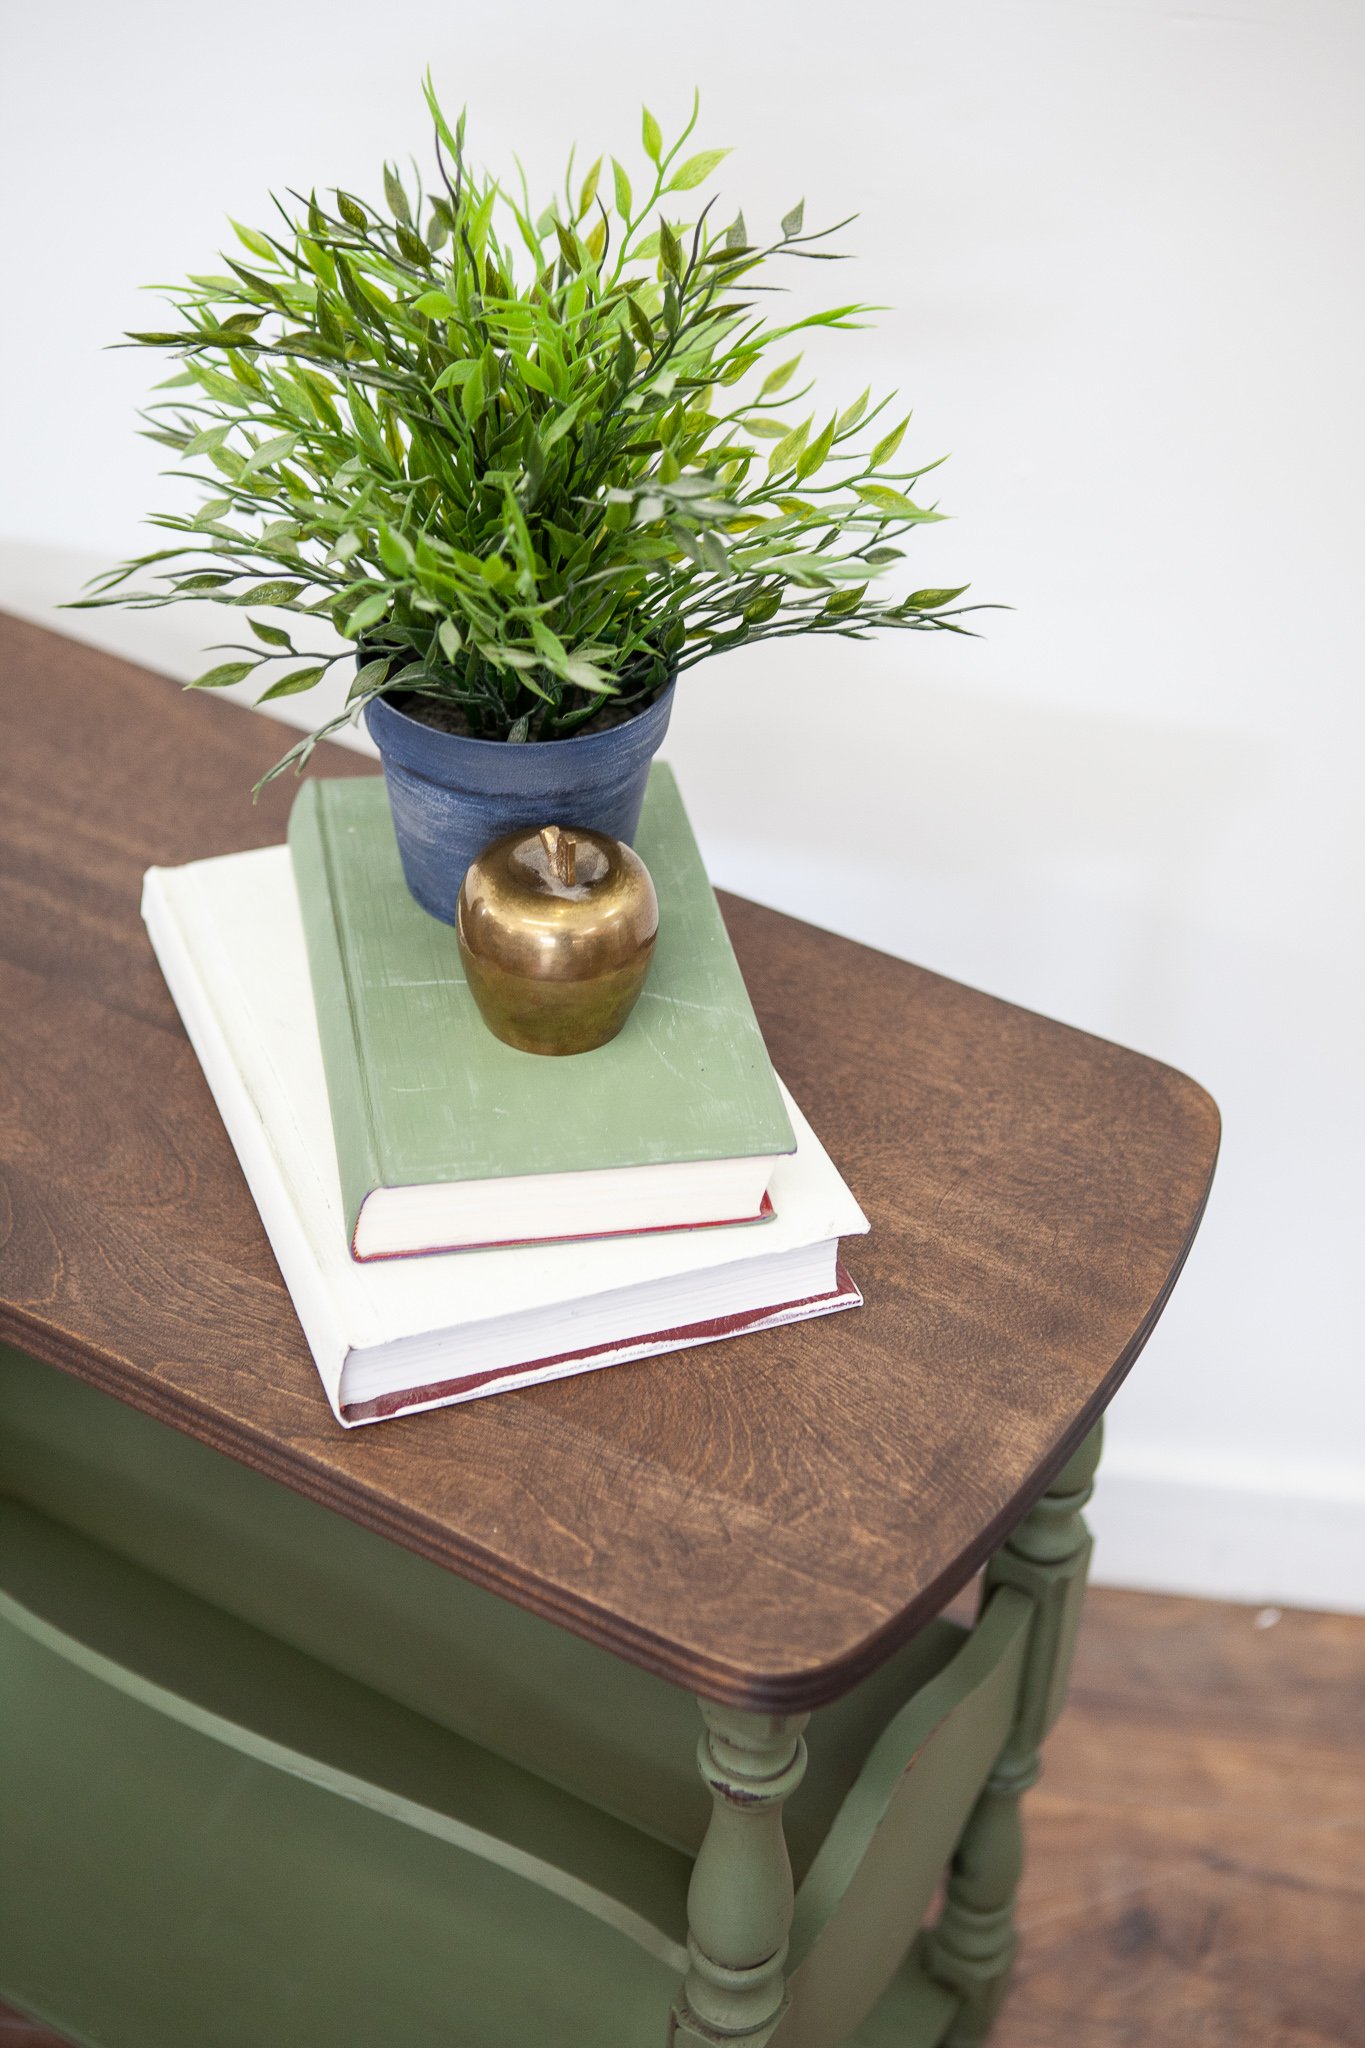
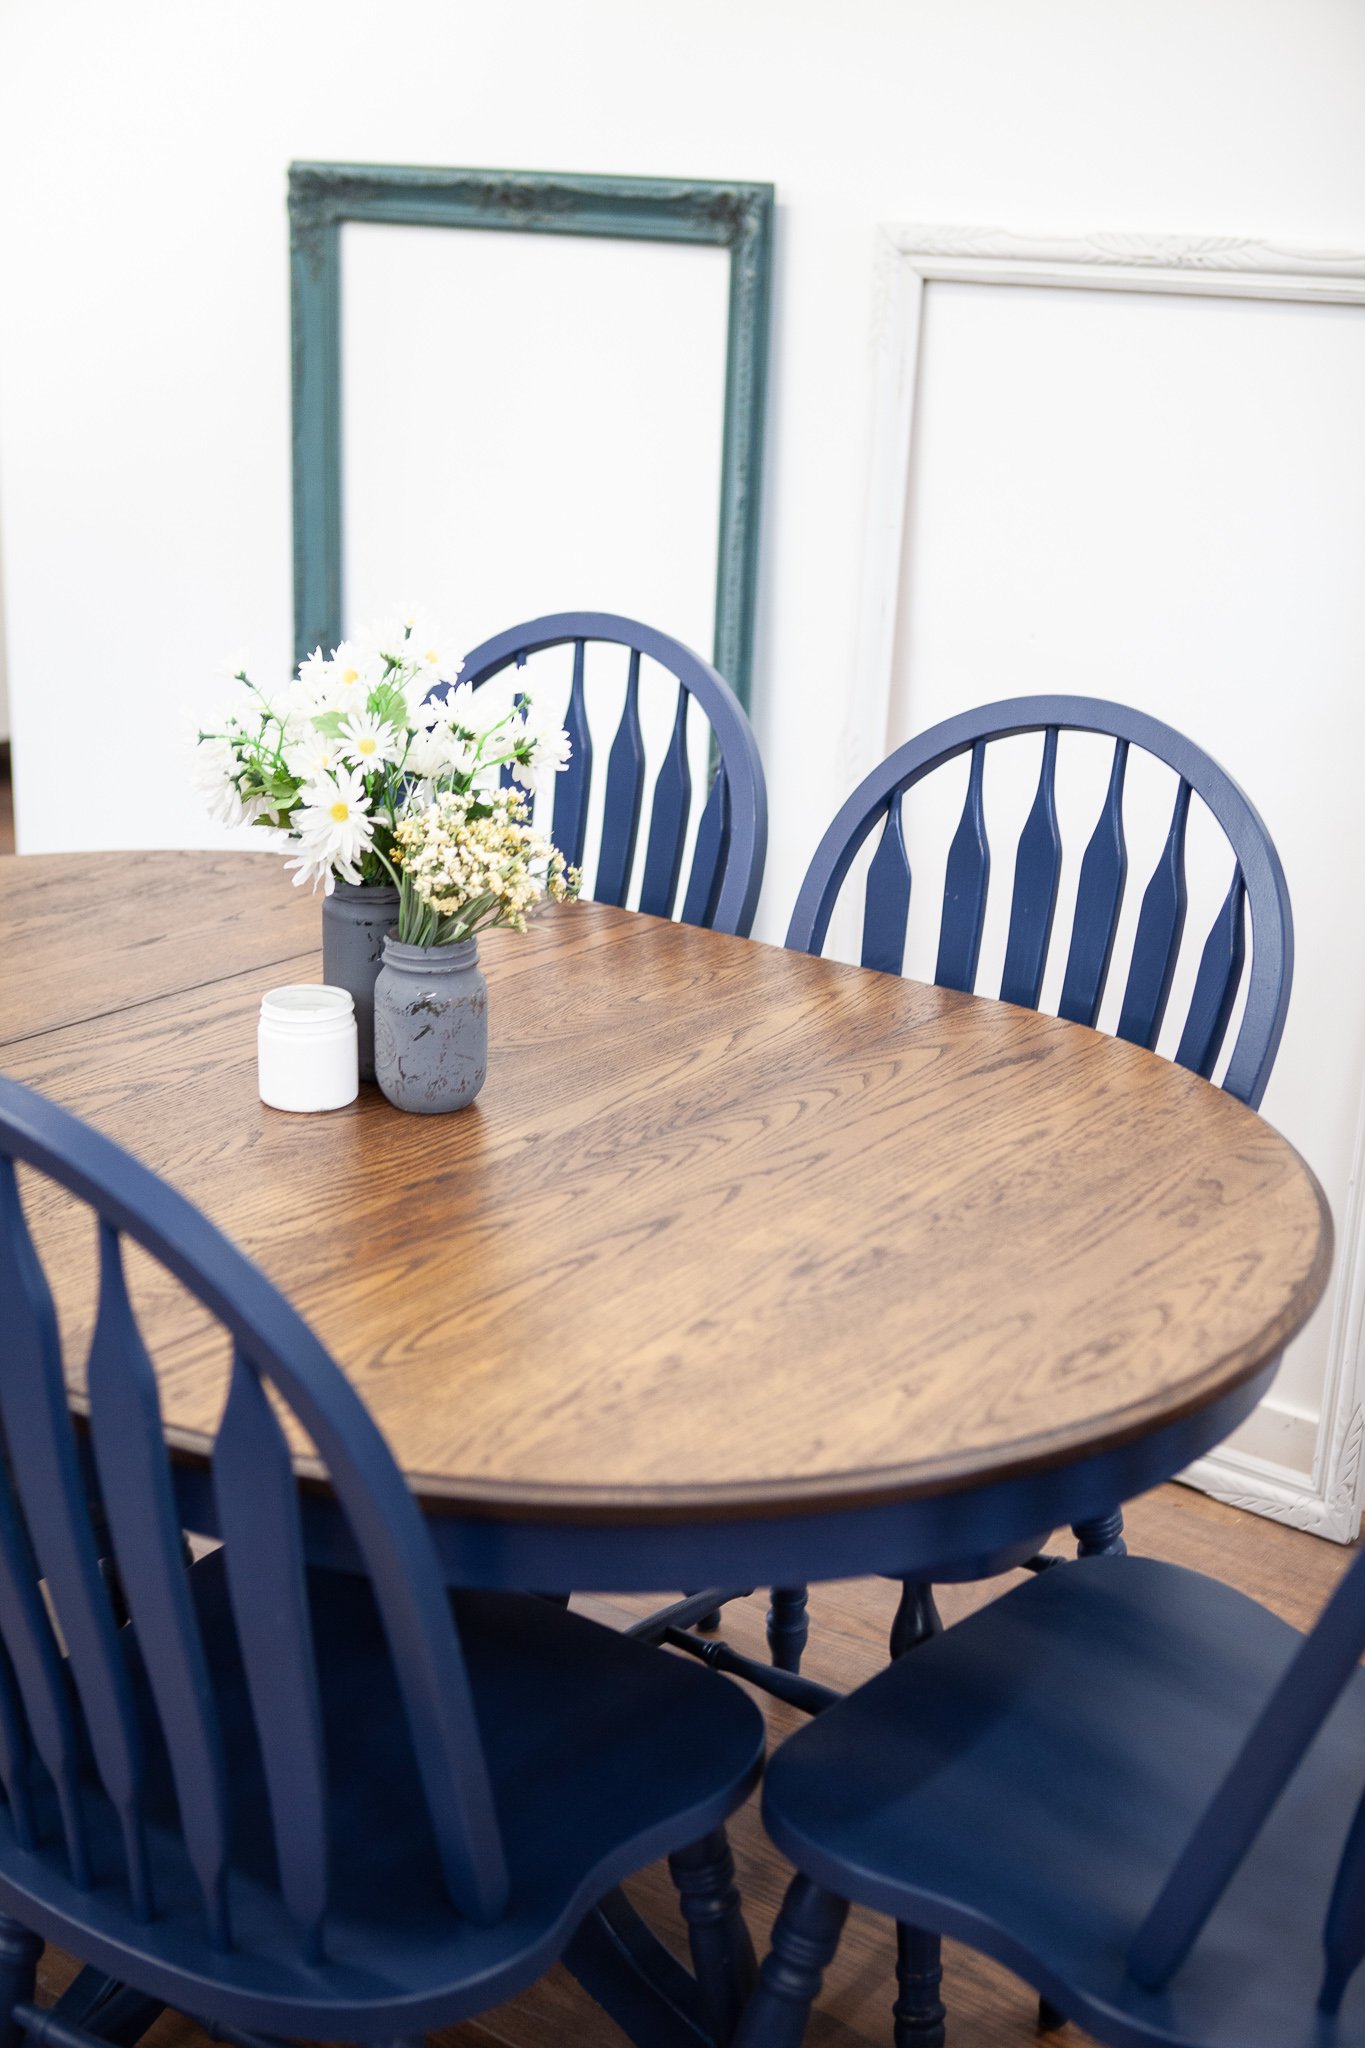
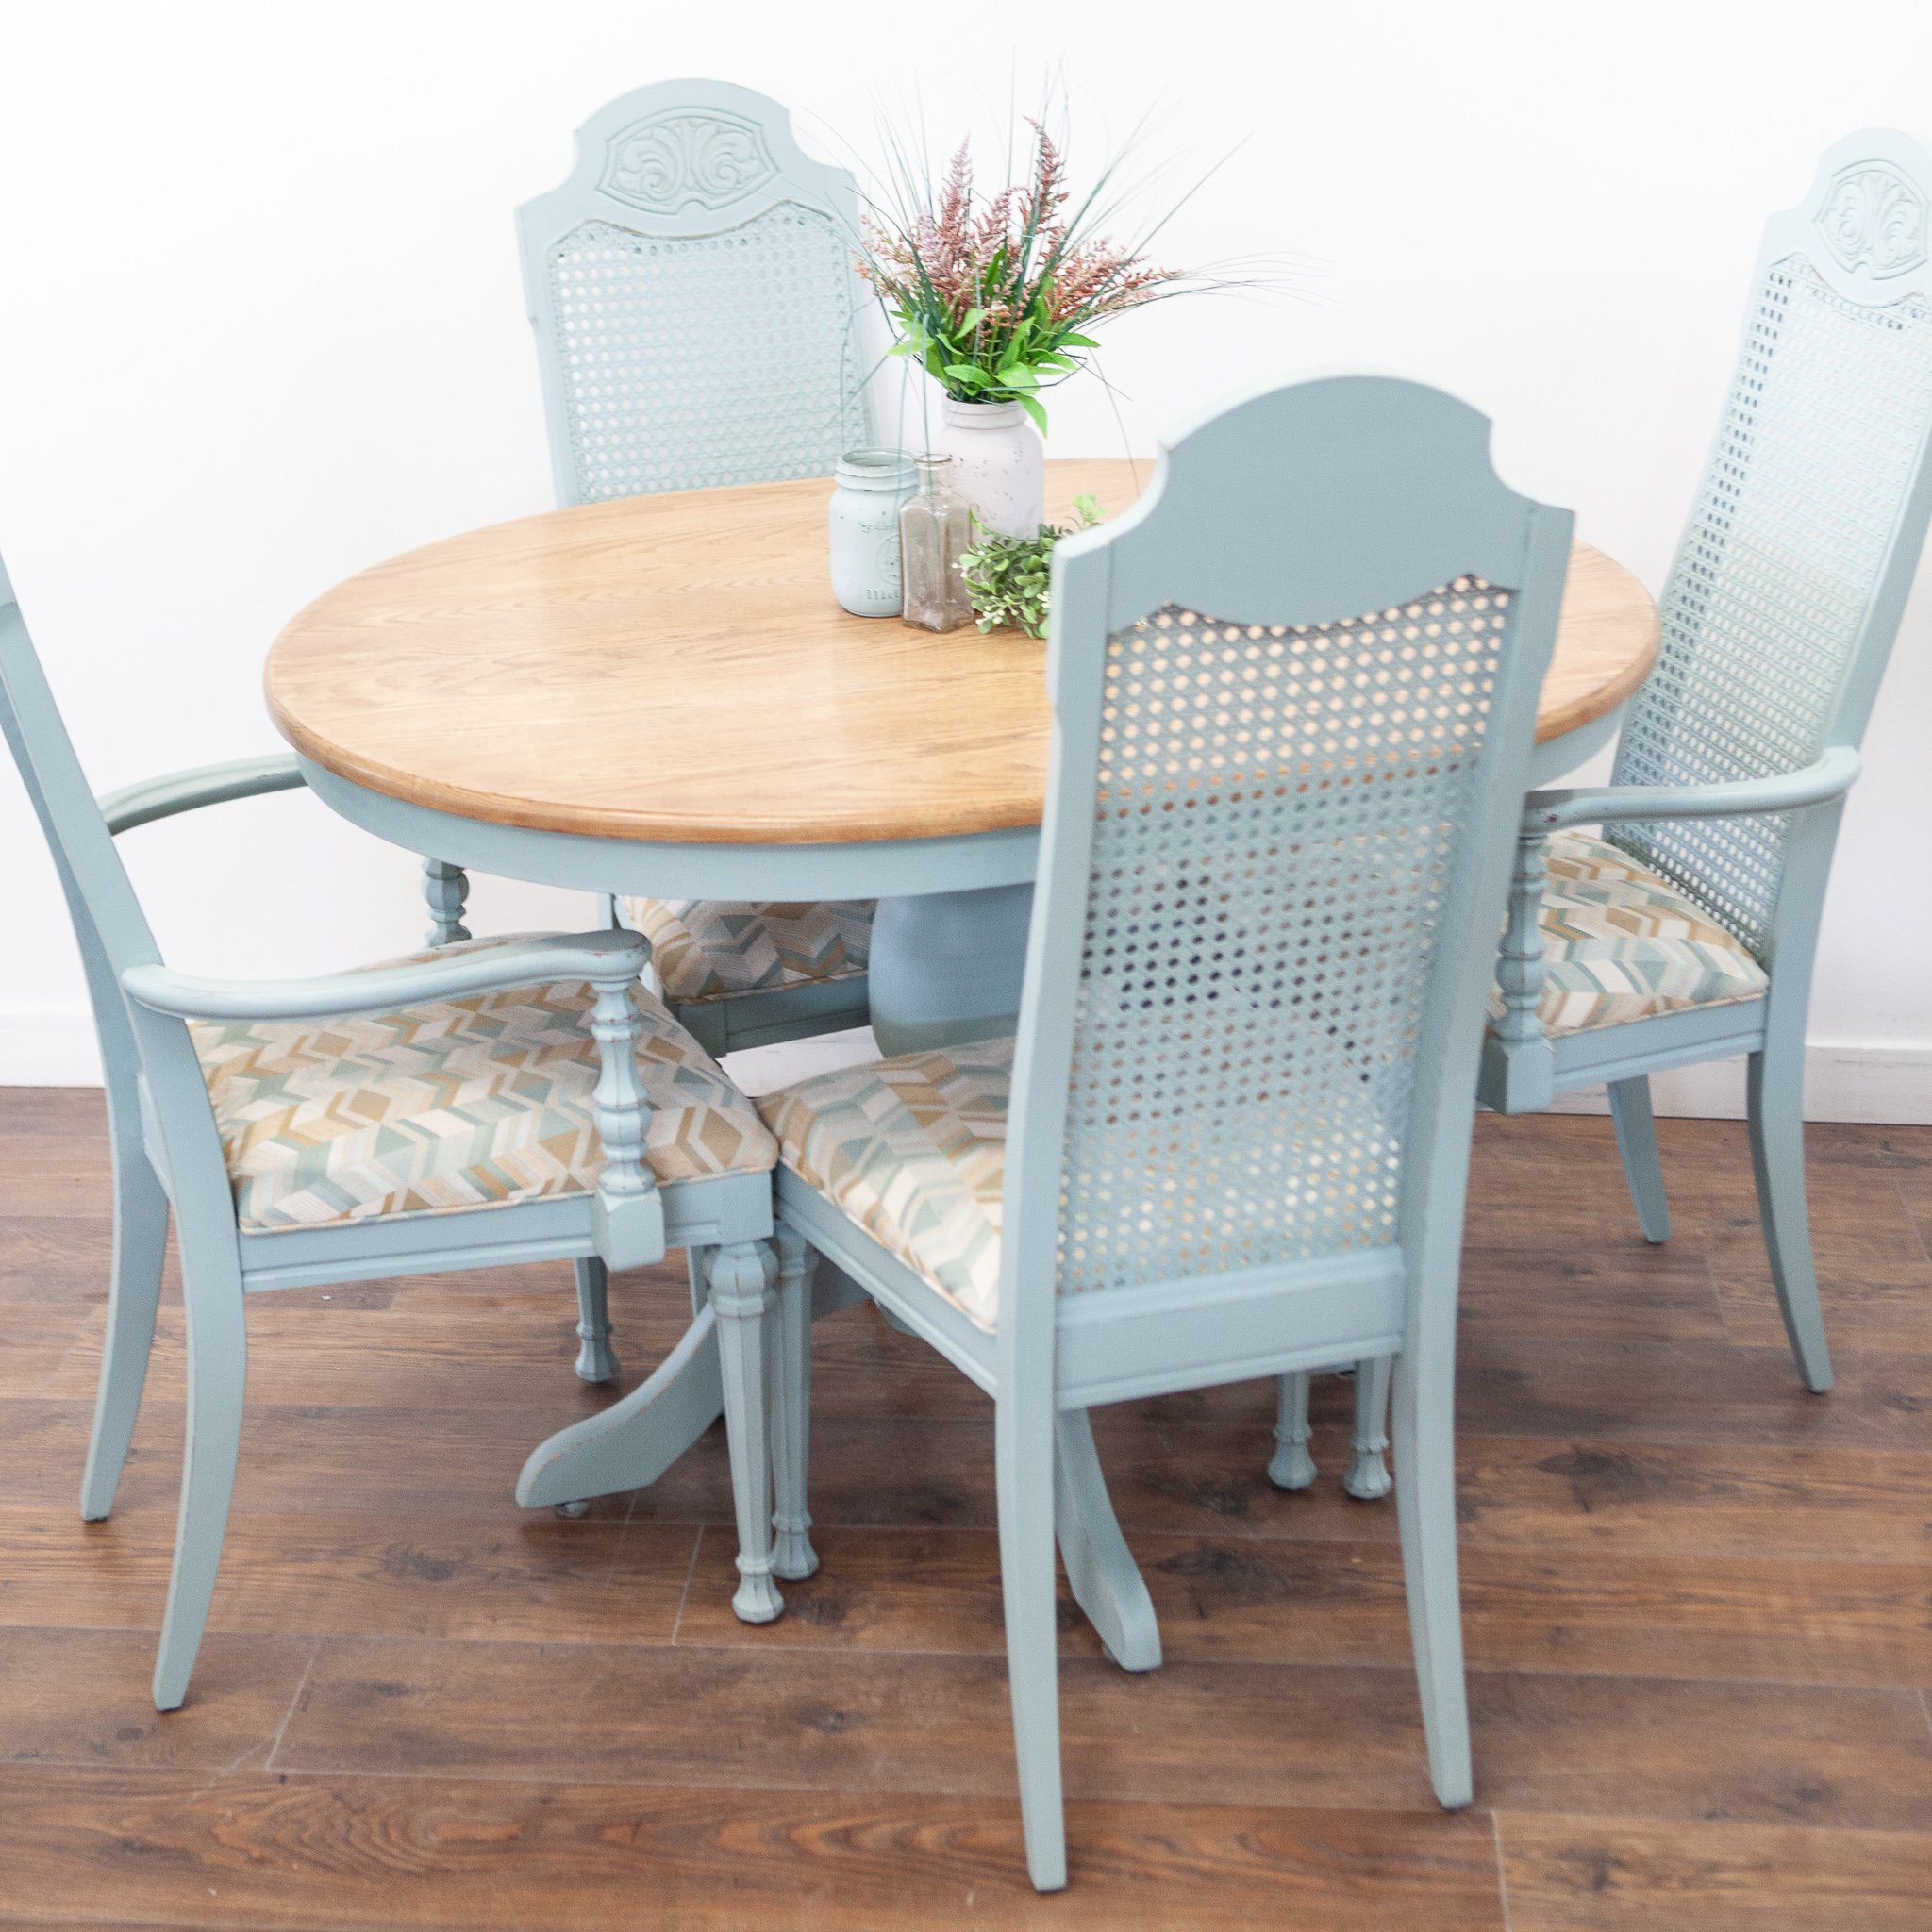
Take a look at just a few of the many pieces we have restyled for customers using a variety of custom Mango Paint stain combinations:
Now, hop to it & update your outdated pieces!

Happy Painting!
~Allie